Cosimulation Studio VS Code Extension
The Cosimulation Studio VS Code Extension seamlessly integrates with the INTO-CPS Maestro cosimulation orchestration engine and provides FMU-aware autocompletion and linting, enhancing the experience of authoring cosimulation configurations within Visual Studio Code.
Quickstart guide
To quickly get the extension up and running, begin here.
Installing the extension
The most recent stable version of the extension is always available in the VS Code Marketplace as a one-click installation.
Setting up Maestro
The extension does not automatically install or orchestrate the Maestro application. If you plan on using the Maestro integration, download the latest release of maestro-webapi-<version>-bundle.jar from the Maestro repository's release page. It's crucial to install the JAR with the Web API, as the extension cannot communicate with Maestro otherwise. Once that’s done, you can start Maestro by running the command:
java -jar maestro-webapi-<version>-bundle.jar
This will expose the API on port 8082 by default, which is the port expected by the extension. At this point, you should be able to launch simulations from within VS Code, as demonstrated in the features overview.
Editing cosimulation configuration files
With the extension installed, you're ready to create your first cosimulation configuration file. By default, any file named cosim.json within a workspace is considered a cosim configuration file by the tool and triggers IntelliSense features. The trigger path is configurable via the VS Code settings: Ctrl + Shift + P > Preferences: Open Settings (UI) > Cosimstudio: Cosim Path.
FMUs definitions can either use absolute paths or relative paths to reference FMU files. Relative paths are relative to the workspace root.
⚠️ NOTE: For maximum portability of projects, it is generally recommended to use relative paths. However, you can choose to use absolute paths if your specific situation warrants it.
Example
Consider a VS Code workspace folder located at:
/home/user/cosim_workspacethat is structured as follows
text
📦 cosim_workspace/
├─ fmus/
│  ├─ fmu1.fmu
│  └─ fmu2.fmu
└─ cosim.json
The
cosim.jsonfile can then reference the fmus using either relative or absolute paths
json
{
  ...
  "fmus": {
    "{fmu1}": "./fmus/fmu1.fmu",
    "{fmu2}": "/home/user/cosim_workspace/fmus/fmu2.fmu"
  }
  ...
}
Note that using relative paths for
{fmu1}is more succinct and will not break if another developer clones the project into a different directory, such as/home/another_user/cosim_workspace.
Features
Linting
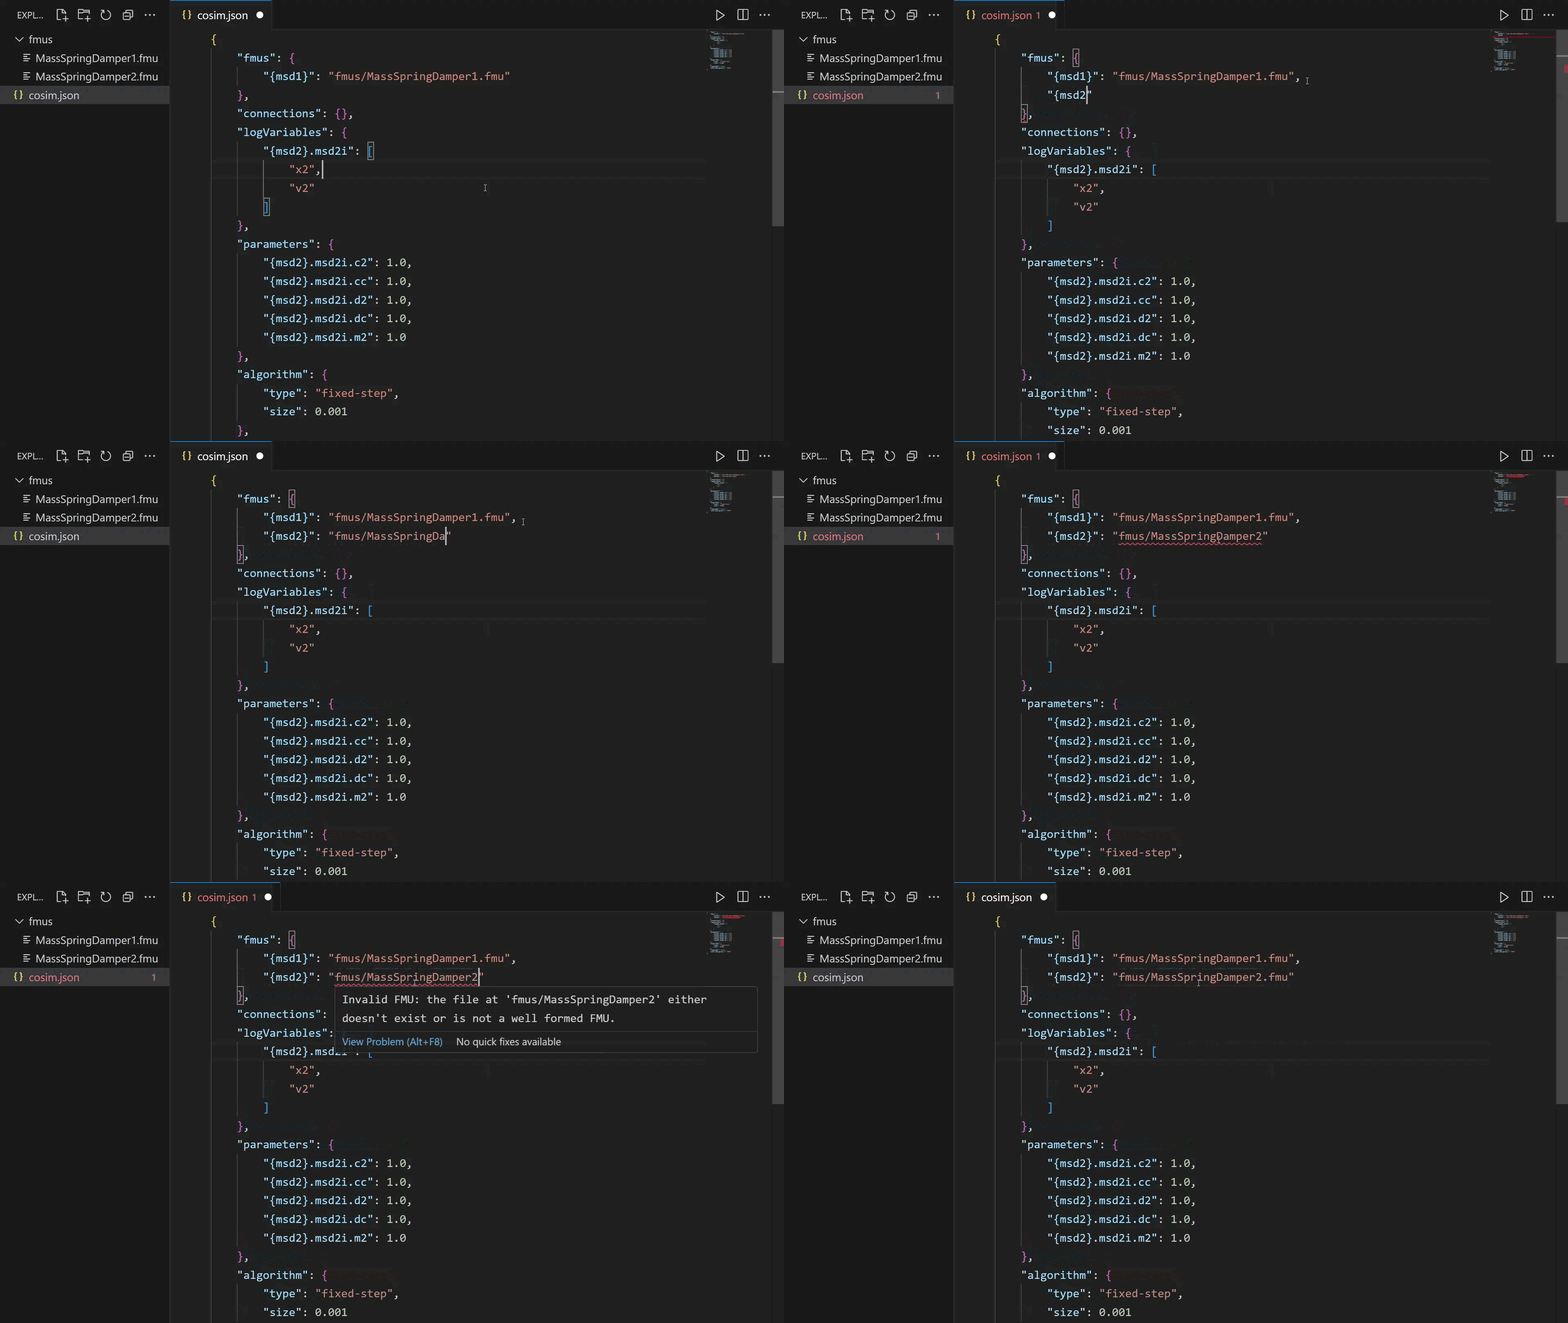
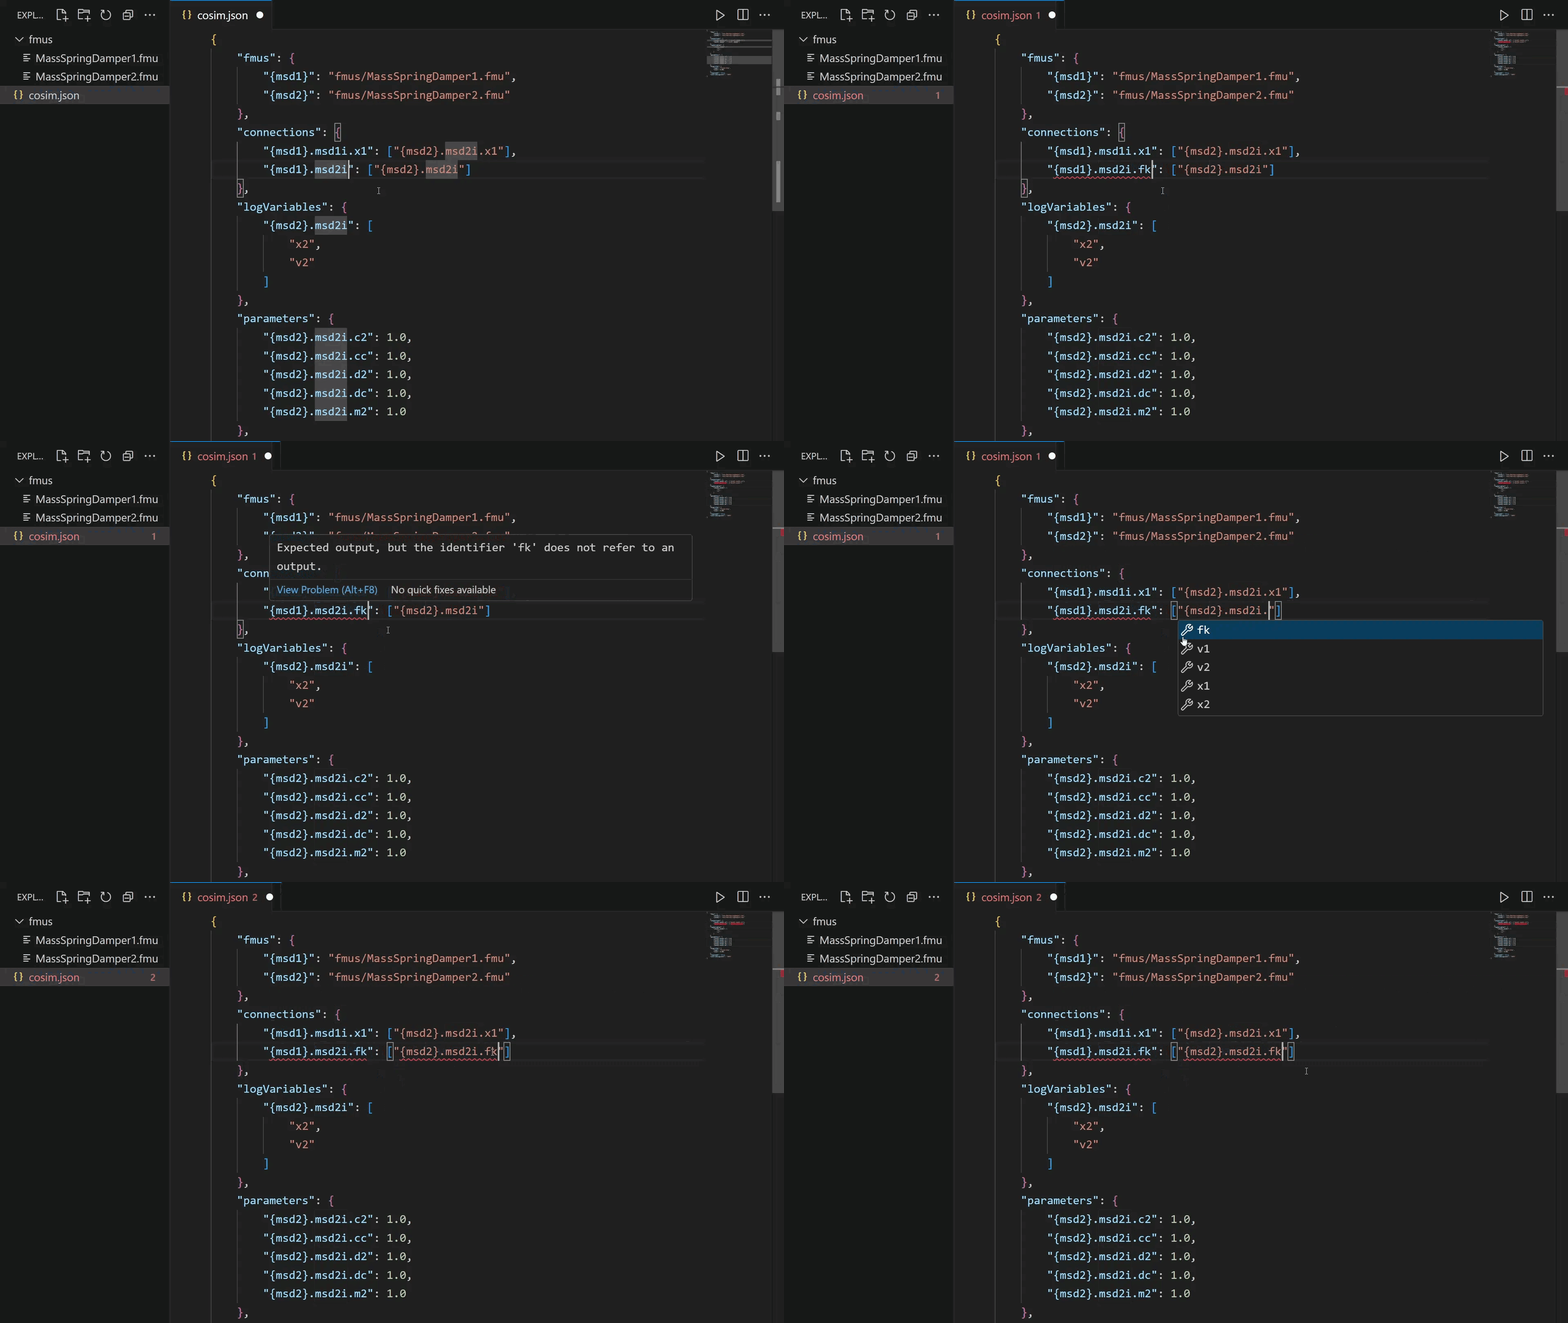
The linter catches errors in cosimulation files as you're writing them, and importantly before they reach the Maestro engine.
The editor will generate an error if an FMU definition contains a reference to a file that doesn't exist.

Defining connections with incorrect causality will be detected as an error.

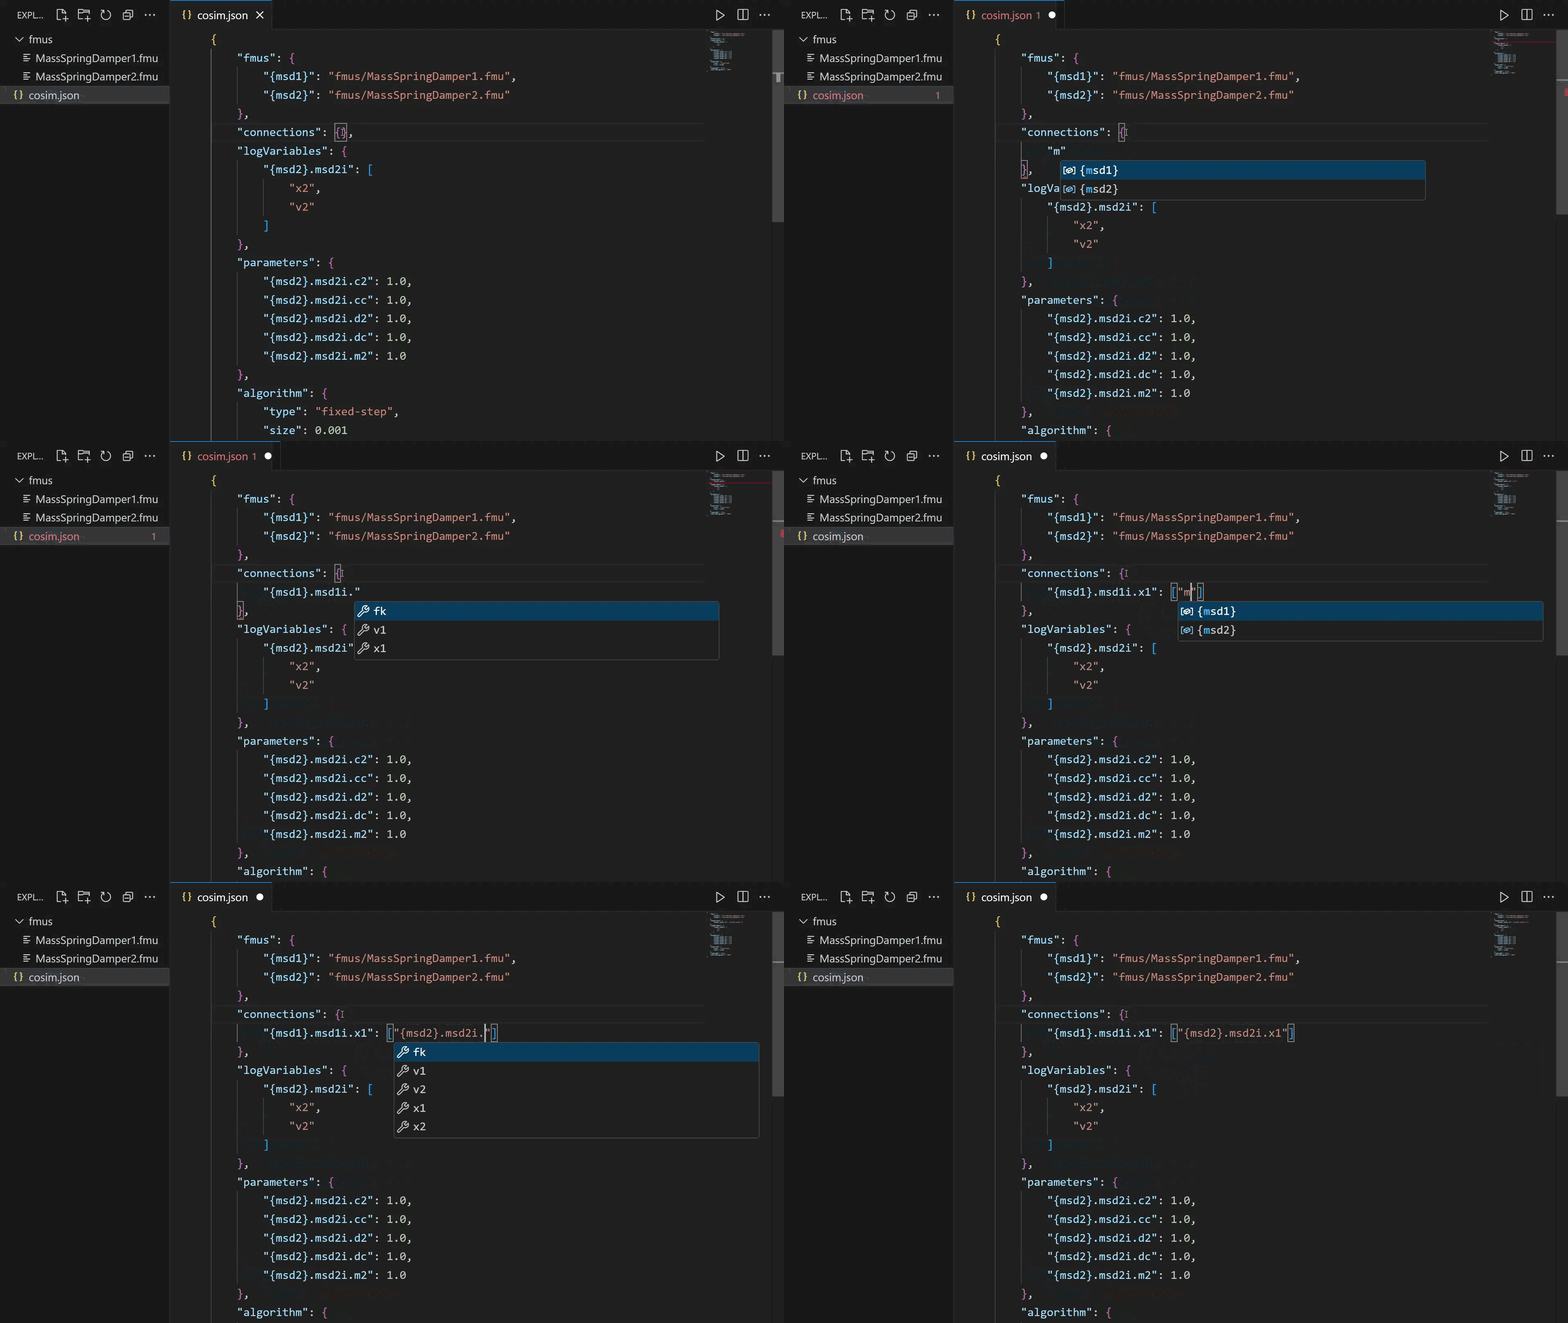
Autocompletion
When the configuration contains references to FMUs that the extension can resolve, the editor provides smart completions of input and output variables.

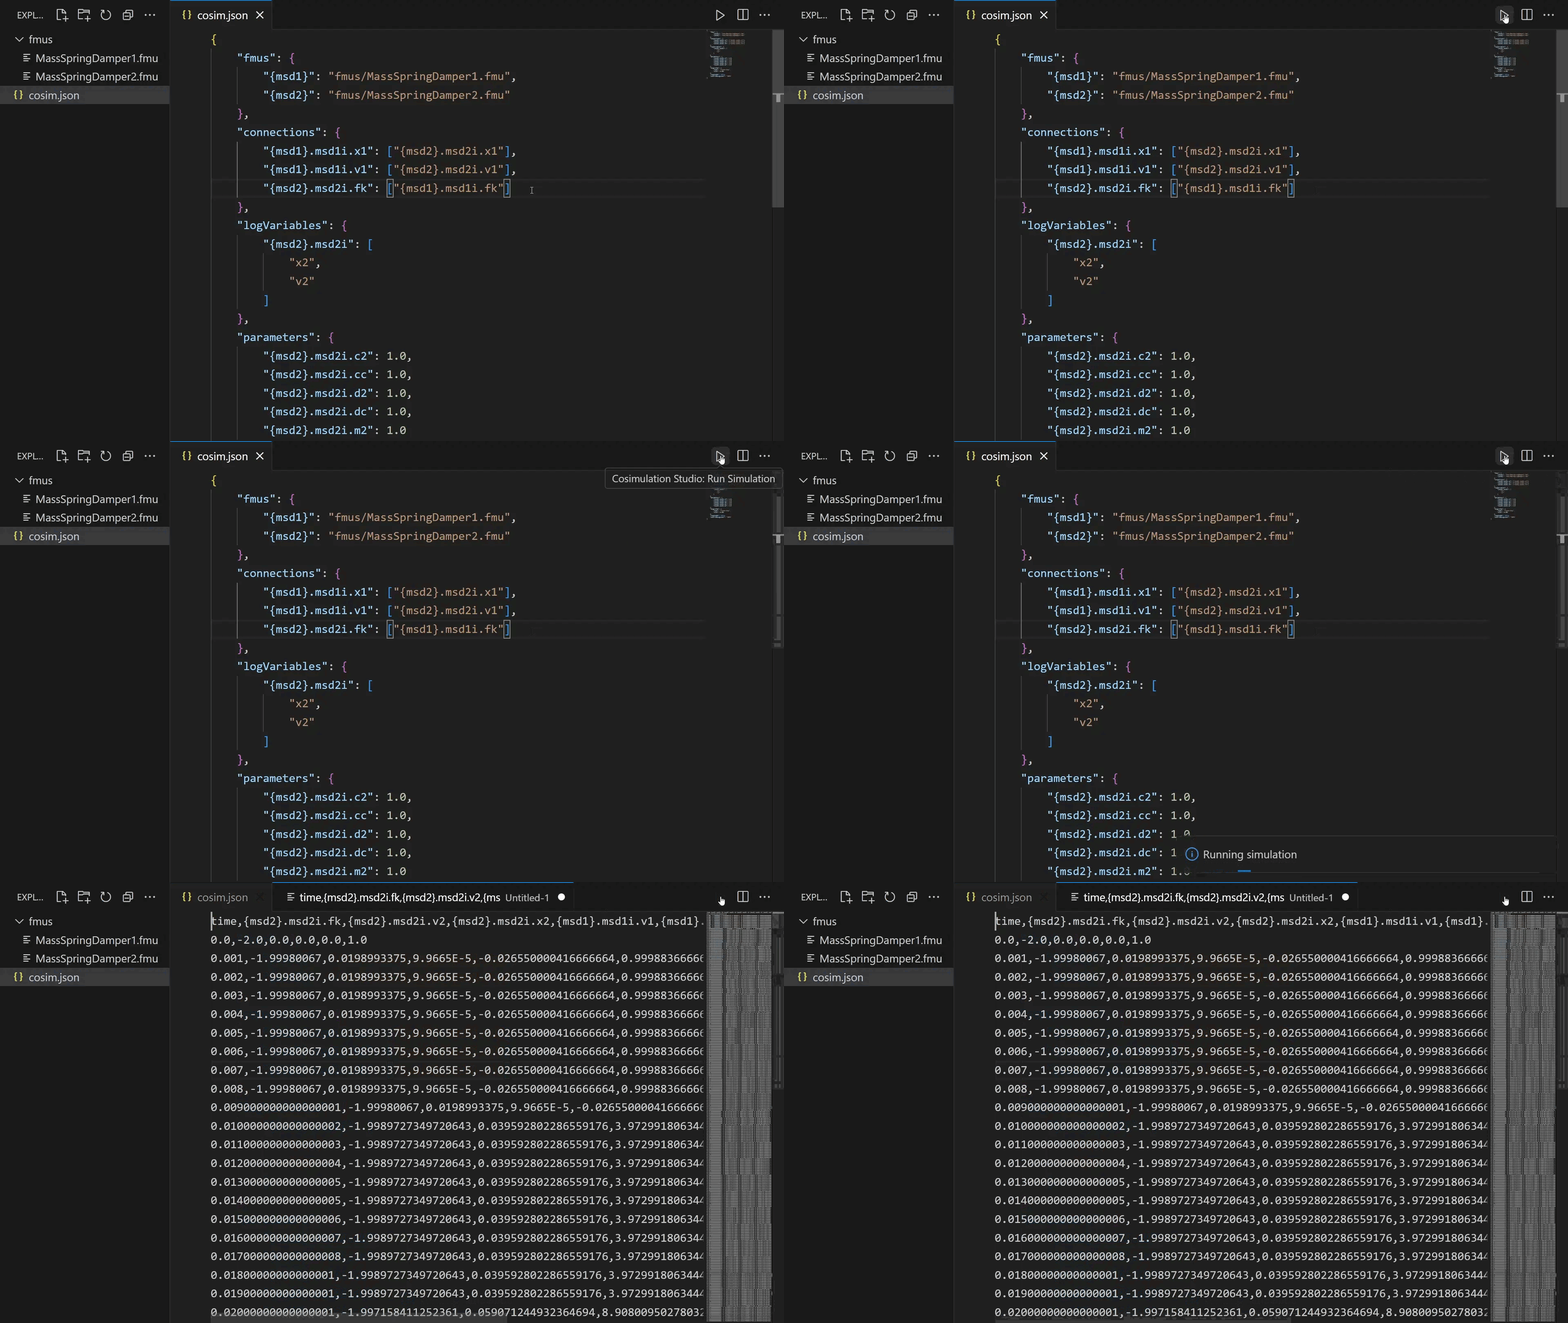
Integration with Maestro
Assuming there's a Maestro instance running, launching simulations directly from within VS Code is very easy. Whenever a cosimulation configuration file is open in the editor, a button to run simulations will appear in the editor toolbar. Pressing the button will send the configuration currently being edited to Maestro, and upon completion, the results will be populated in a new CSV file.

Developing the extension
For a more in-depth guide on setting up the development environment and building and installing a development version of the extension, refer to the developer guide.

