OAuth 2.0 for React Client
To enable user authorisation on the DTaaS React client website, the OAuth 2.0 authorisation protocol is used, specifically the PKCE authorisation flow. The following steps describe the setup process:
1. Choose a GitLab Server:
- OAuth 2.0 authorisation must be set up on a GitLab server. An on-premise GitLab installation is preferrable to commercial https://gitlab.com.
- The GitLab Omnibus Docker can be used for this purpose.
- The OAuth 2.0 application should be configured as an instance-wide authorization type.
2. Determine the Website's Hostname:
- Before setting up OAuth on GitLab, the hostname for the website must be determined. Using a self-hosted GitLab instance is recommended, which will be used in other parts of the DTaaS platform.
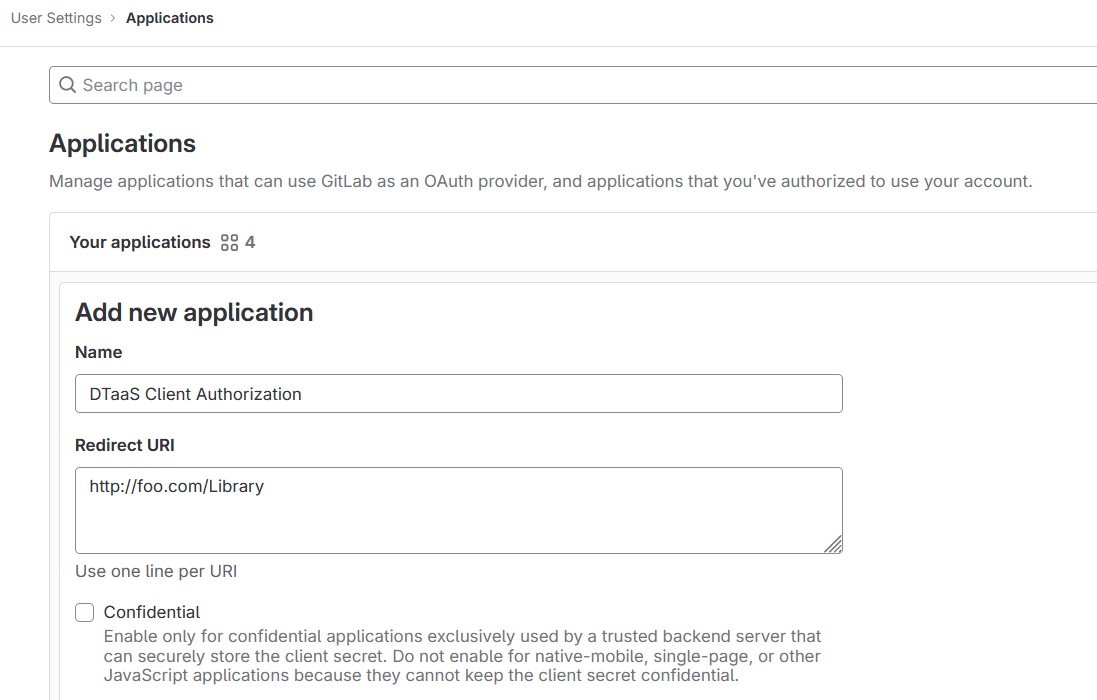
3. Define Callback and Logout URLs:
- For the PKCE authorisation flow to function correctly, two URLs are required: a callback URL and a logout URL.
- The callback URL informs the OAuth 2.0 provider of the page where signed-in users should be redirected. It differs from the landing homepage of the DTaaS platform.
- The logout URL specifies where users will be directed after logging out.
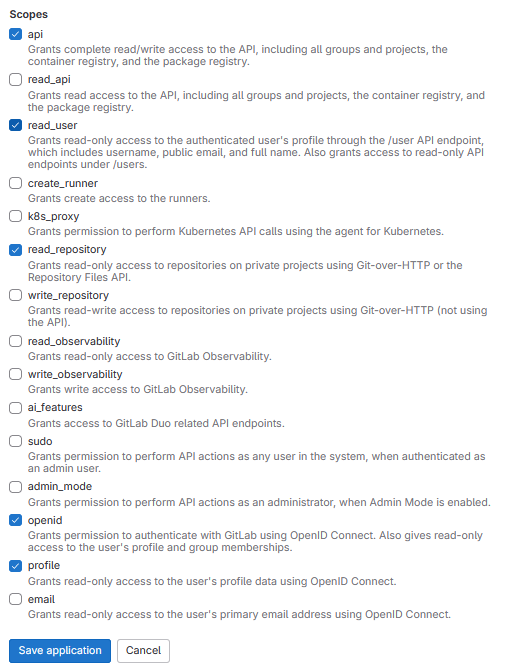
4. OAuth 2.0 Application Creation:
- During the creation of the OAuth 2.0 application on GitLab, the scope must be specified. The openid, profile, read_user, read_repository, and api scopes should be selected.
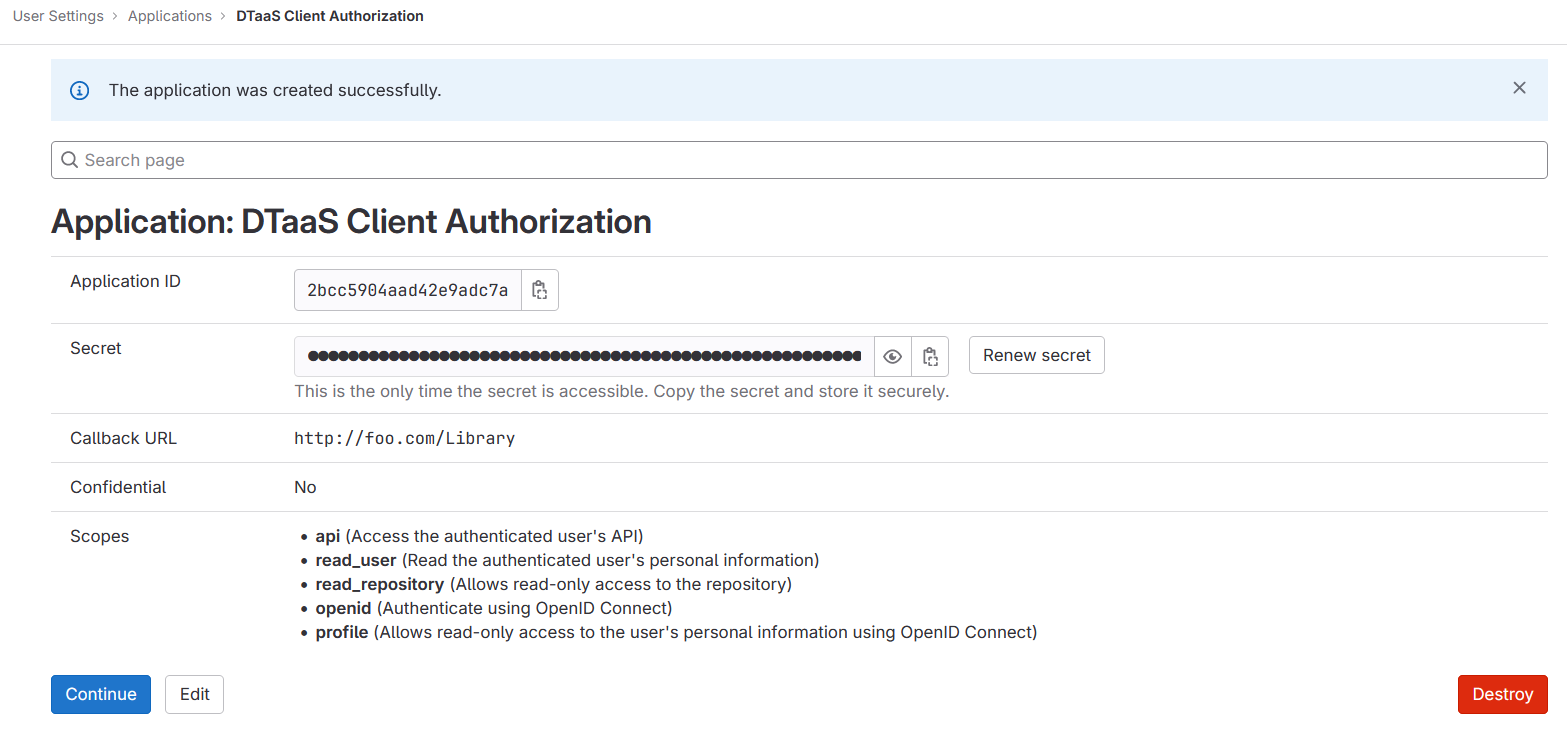
5. Application ID:
- After successfully creating the OAuth 2.0 application, GitLab generates an application ID. This is a long string of HEX values required for the configuration files.
6. Required Information from OAuth 2.0 Application:
- The following information from the OAuth 2.0 application registered on GitLab is required:
| GitLab Variable Name | Variable Name in Client env.js | Default Value |
|---|---|---|
| OAuth 2.0 Provider | REACT_APP_AUTH_AUTHORITY | https://gitlab.intocps.org/ |
| Application ID | REACT_APP_CLIENT_ID | |
| Callback URL | REACT_APP_REDIRECT_URI | https://intocps.org/Library |
| Scopes | REACT_APP_GITLAB_SCOPES | openid, profile, read_user, read_repository, api |
7. Create User Accounts:
User accounts must be created in GitLab for all usernames chosen during installation. The trial installation script includes two default usernames - user1 and user2. For all other installation scenarios, accounts with specific usernames must be created on GitLab.