Install DTaaS on localhost (GUI)
The installation instructions provided in this document are ideal for running the DTaaS on localhost via a Graphical User Interface (GUI). This installation is ideal for single users intending to use DTaaS on their own computers.
Design
An illustration of the docker containers used and the authorization setup is shown here.

Requirements
The installation requirements to run this docker version of the DTaaS are:
- docker desktop / docker CLI with compose plugin
- User account on gitlab.com
Tip
The frontend website requires authorization. The default authorization configuration works for gitlab.com. If you desire to use locally hosted gitlab instance, please see the client docs.
Clone Codebase
If the DTaaS git repository has not been cloned, cloning is the first step. If the codebase already exists, the cloning step can be skipped. To clone:
In this guide we will assume the contents of the zip file have been extracted
to the directory: /Users/username/DTaaS.
Tip
The path given here is for Linux OS.
It can be Windows compatible as well, for example: C:\\DTaaS. Make
sure to use this path and format in place of /Users/username/DTaaS in this
guide.
Starting Portainer
The GUI used to run the application and docker containers will be provided by
Portainer Community Edition. It is itself a Docker
container that will create a website at https://localhost:9443, which will
present a graphical interface for starting and stopping the application.
You may follow the official documentation for setting up a Portainer CE Server . Alternatively, open a terminal on your system (Terminal on Linux / MacOS, Powershell on Windows, etc) and copy the following commands into it:
This will start the Portainer server on your system, which will host its
dashboard at https://localhost:9443. Follow the
Initial Setup Guide
to set up an administrator account for Portainer on your system.
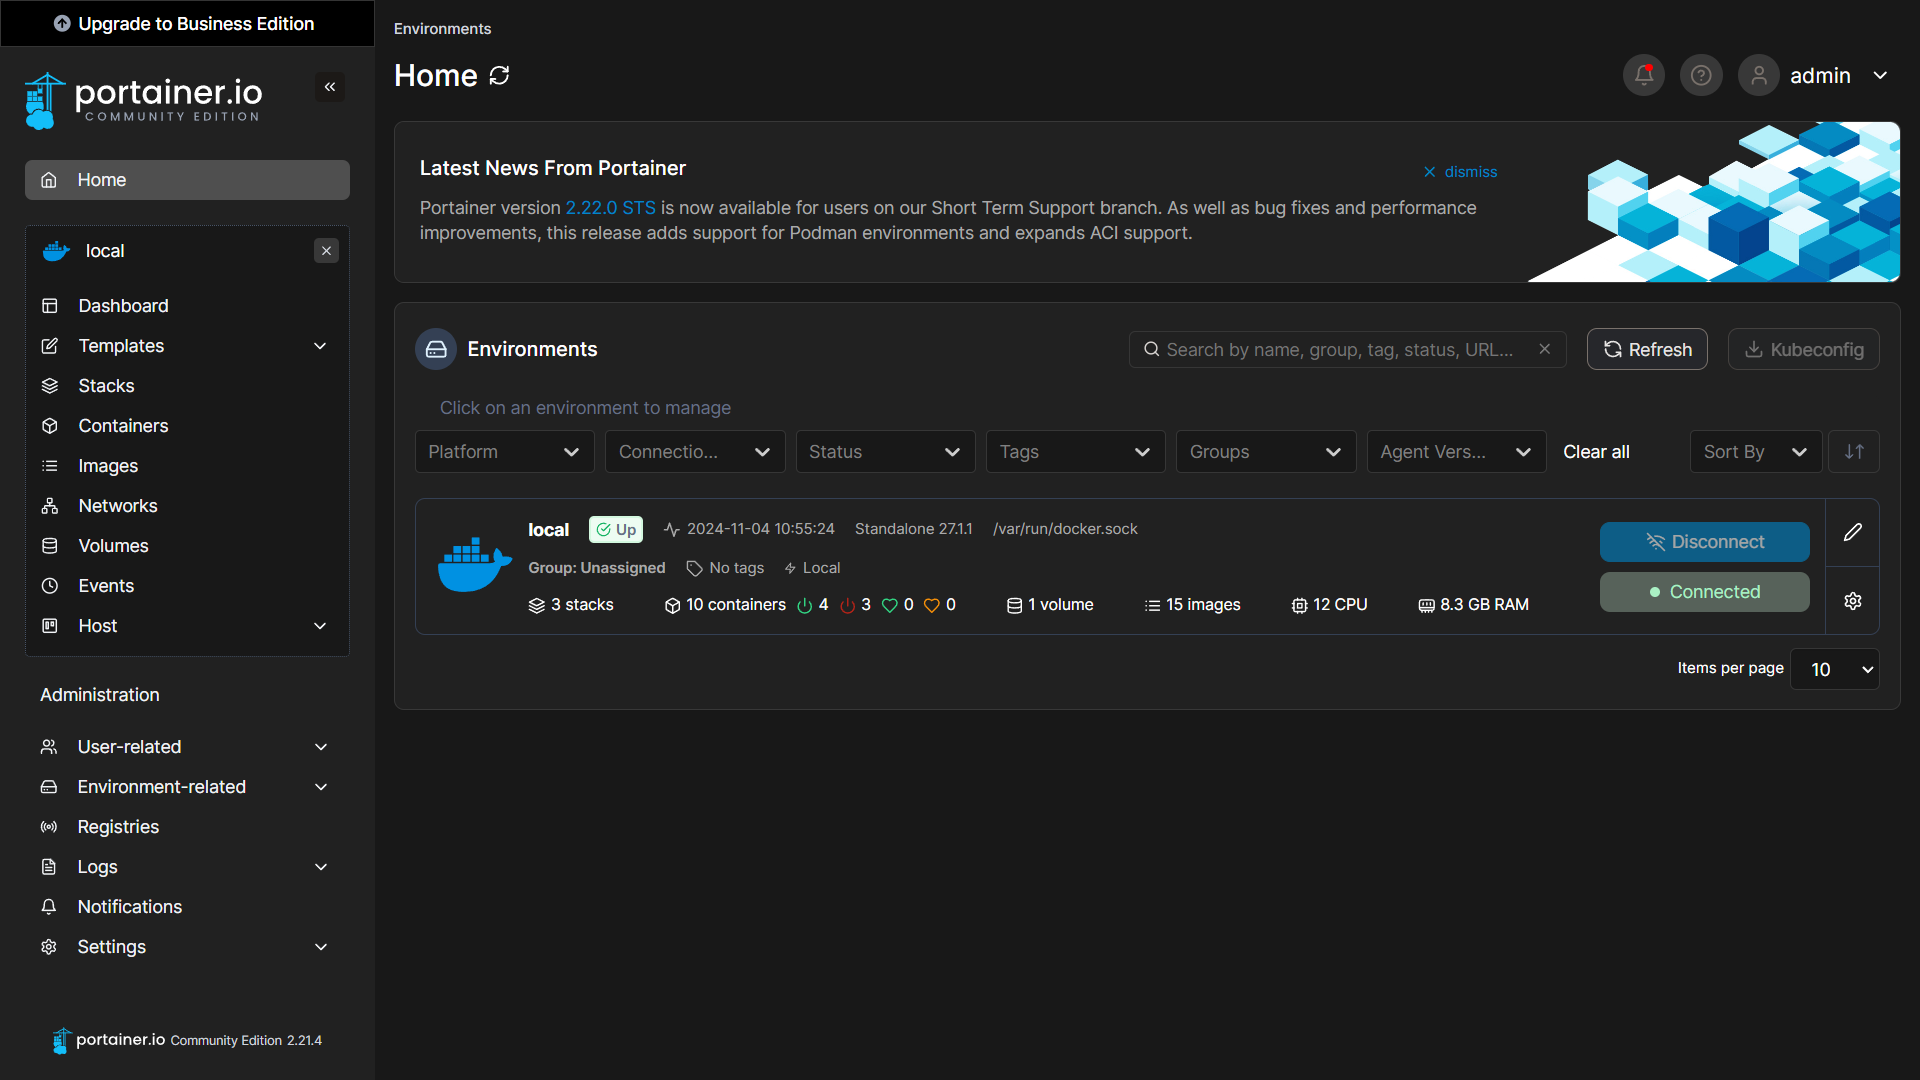
Portainer should now be set up on your system, and you can access the dashboard:

Tip
The next time you wish to start the Portainer server, run
docker start portainer.
Configuration
Create User Workspace
The existing filesystem for installation is setup for user1.
A new filesystem directory needs to be created for the selected user.
You may use your file explorer or an equivalent application to duplicate the
files/user1 directory and rename it as files/username where username is
the selected username registered on https://gitlab.com.
ALternatively, you may execute the following commands from the top-level directory of the DTaaS.
Creating the Portainer Stack

Portainer Stacks are equivalent to using docker compose commands to manage containers.
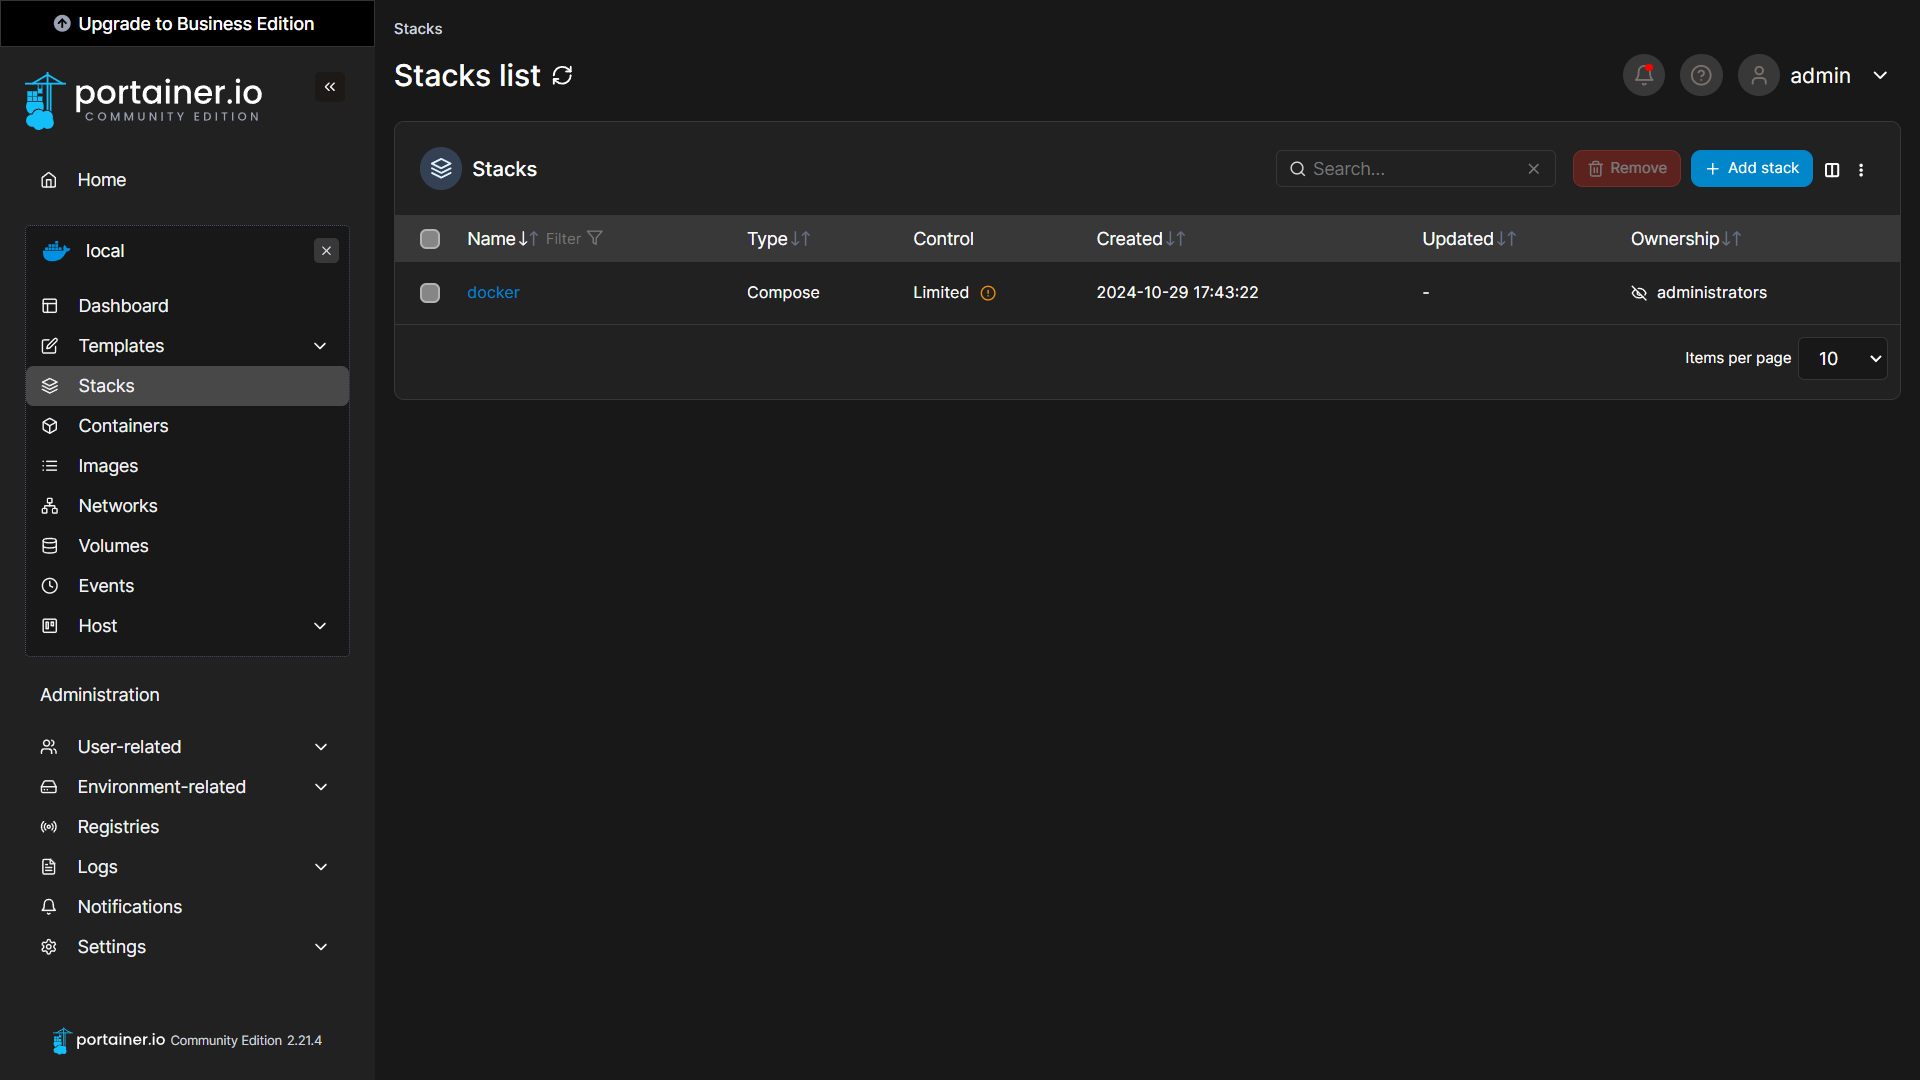
- Navigate to the Stacks tab on the side panel, and click on the Add Stack button.
- Name the Stack anything descriptive, for example:
dtaas-localhost. - Select the Upload build method.
- Upload the compose file located at
deploy/docker/compose.local.yml. - Select the option to load variables from a .env file, and upload the file
deploy/docker/.env.local.
Tip
Sometimes the .env.local file does not show up in the file explorer. You
may fix this by selecting the option to show All Files rather than those
with the extension .env.
The .env.local file contains environment variables that are used by the
compose file. Portainer allows you to modify them as shown in the screenshot
above, here is a summary:
| URL Path | Example Value | Explanation |
|---|---|---|
| DTAAS_DIR | '/Users/username/DTaaS' | Full path to the DTaaS directory. This is an absolute path with no trailing slash. |
| username1 | 'user1' | Your gitlab username |
Tip
Important points to note:
- The path examples given here are for Linux OS. These paths can be Windows OS compatible paths as well.
- The client configuration file is located at
deploy/config/client/env.local.js. If you are following the guide to use HTTPS on localhost, edit the URLs in this file by replacinghttpwithhttps.
Once you have configured the environment variables, click on the button Deploy the stack.
Use
The application will be accessible at: http://localhost from web browser. Sign in using your https://gitlab.com account.
All the functionality of DTaaS should be available to you through the single page client now.
Limitations
The library microservice is not included in the localhost installation scenario.
References
Image sources: Traefik logo, ml-workspace, reactjs, gitlab