Installation Steps
There are two ways to install the DTaaS platform:
- DTaaS CLI (recommended). The
dtaascommand generates, validates, installs and operates a deployment for every supported scenario. The CLI installation guide covers the full workflow. - Manual scenario packages (advanced). A docker compose package for
each scenario, edited by hand. Choose this path only when a scenario
needs customisation beyond what
dtaas.tomloffers, or when you want to study the deployment internals. Start at the manual installation scenarios.
Platform Services (Optional)
To install additional data and infrastructure services (MQTT, InfluxDB, Grafana and others), use the Platform Services CLI.
Manual Installation Scenarios (Advanced)
Note
These packages are the manual counterpart of what
dtaas deployment generate produces. The CLI performs the steps
below automatically. Prefer it unless you need to modify the
deployment beyond its configuration options.
Start by selecting a scenario package.
DTaaS
DTaaS scenarios are complete platform deployments that bundle the web client, gateway, user workspaces and core services. Choose a scenario by target environment, security needs and GitLab setup. Each scenario has its own Install and Config pages.
| Scenario | Purpose |
|---|---|
| localhost | Single-user DTaaS package over HTTP |
| localhost on portainer | GUI-based localhost deployment with Portainer for single-users |
| secure server | Compatibility package for secure server installs |
| secure server and GitLab | Multi-user DTaaS package with integrated GitLab |
Workspace
Workspace scenarios cover user workspace access, identity provider setup and route-level protection. Choose localhost for a quick start with Dex, or secure server for a production-style deployment with Keycloak and OIDC. Each scenario has Install, Configuration and identity provider pages.
| Scenario | Purpose |
|---|---|
| localhost | Single-user workspace deployment with Dex |
| secure server | Multi-user workspace deployment with Keycloak |
Other
After selecting a scenario package, follow these steps:
1. Configure OAuth and Client Settings
- DTaaS packages:
- Frontend OAuth setup: client auth
- Backend OAuth setup (forward-auth): servers auth
- Client runtime settings: client config
- Workspace Dex localhost:
- Configure
.envandconfig/dex-config.yaml - Workspace Keycloak secure server:
- Follow package guides in workspace config and Keycloak config
2. Configure Filesystem and Certificates
For DTaaS or workspace server deployments:
- Create user workspaces under
files/ - Provide TLS certificates under
certs/(secure server packages) - Create
config/.envfrom its example and update it - Create
config/client.jsfrom its example and update it - For the workspace Dex localhost package, create
config/dex-config.yamlfrom its example (no changes needed)
3. Start Services
Run the following command from the package directory:
4. Validate and Iterate
- Confirm the login flow in a browser
- Check the workspace routes (
/user1,/user2) - Check service logs and health
Independent Packages
Reusable package details are listed on packages.
Walkthrough Videos
These walkthroughs help when selecting or validating an installation
scenario. Where a 4x recording exists, the preview and MP4 link below
use it.
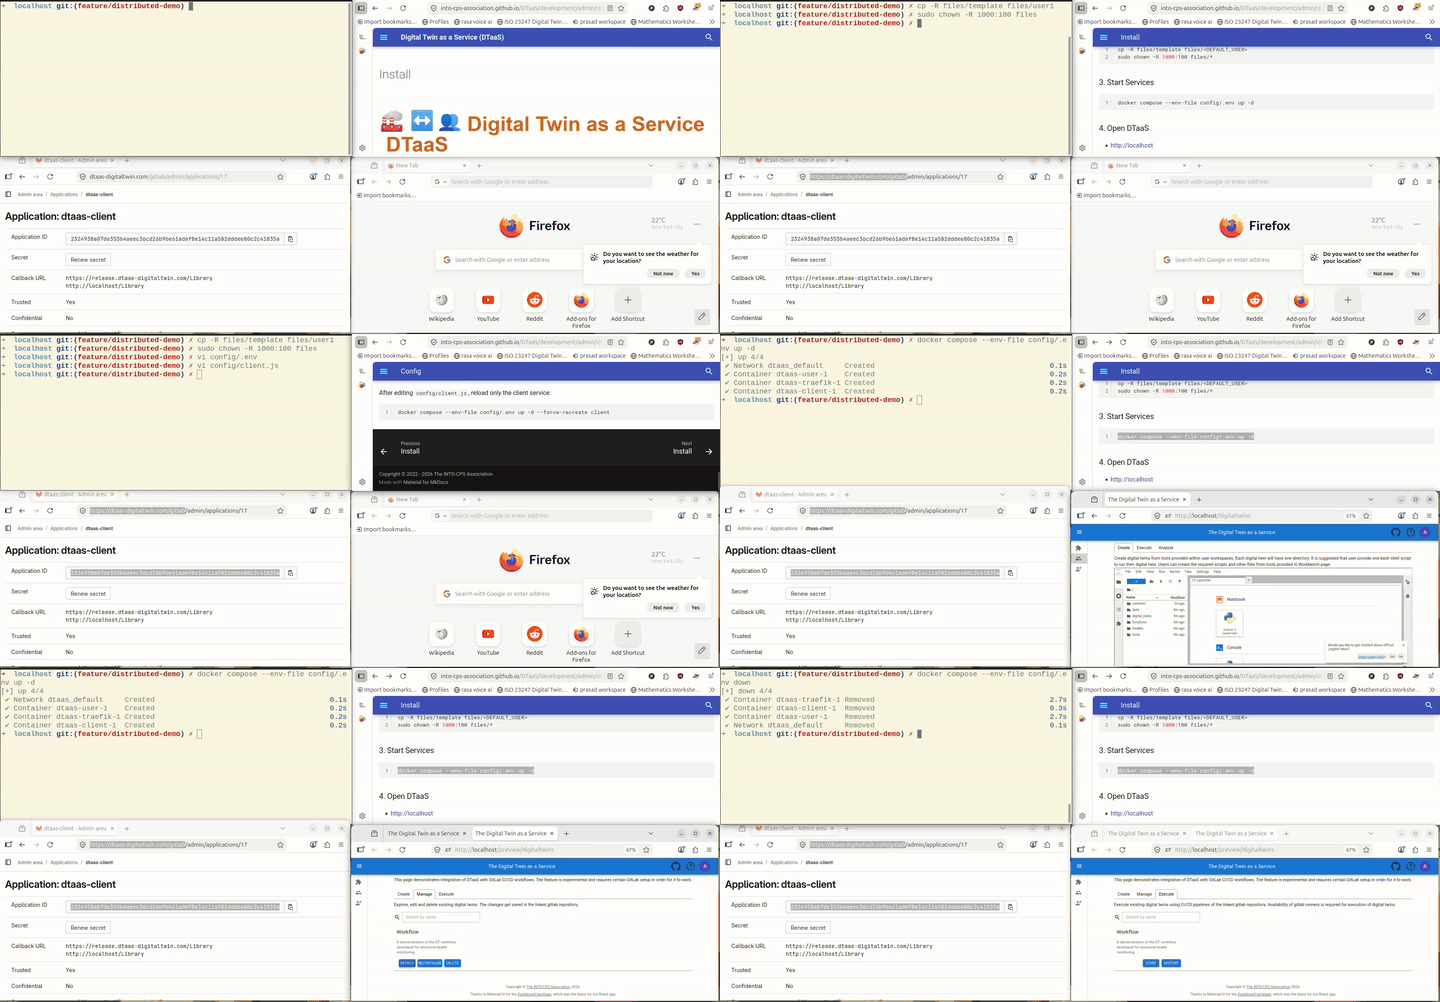
DTaaS localhost
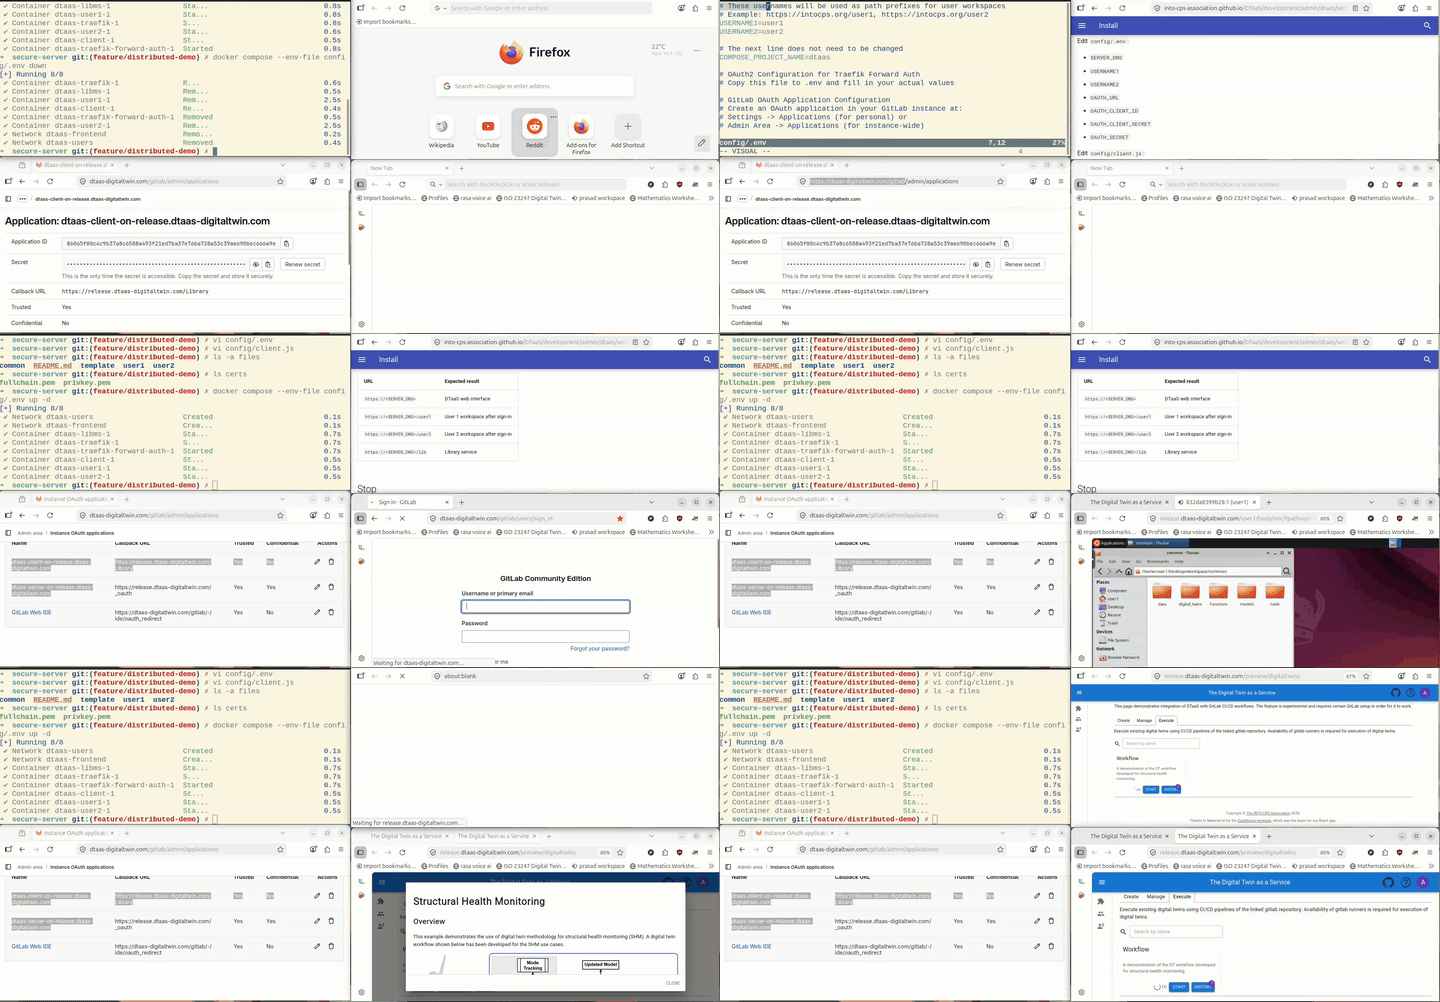
Multi-user DTaaS on secure server
Workspace on localhost

Multi-user workspace
