DTaaS Website Screenshots
This page walks through the DTaaS website with screenshots. A short screen recording is also available.
This tutorial uses https://intocps.org as an example base URL.
Replace it with the URL of your installation.
Visit the DTaaS Installation
URL:
https://intocps.org(specified inconfig/client.jsfile)
Start by visiting the website of the DTaaS installation you are registered with.
Redirected to Authorization Provider
URL:
https://gitlab.com/xxxx(specified inconfig/.envfile)
The browser redirects to the GitLab authorization page for the DTaaS.
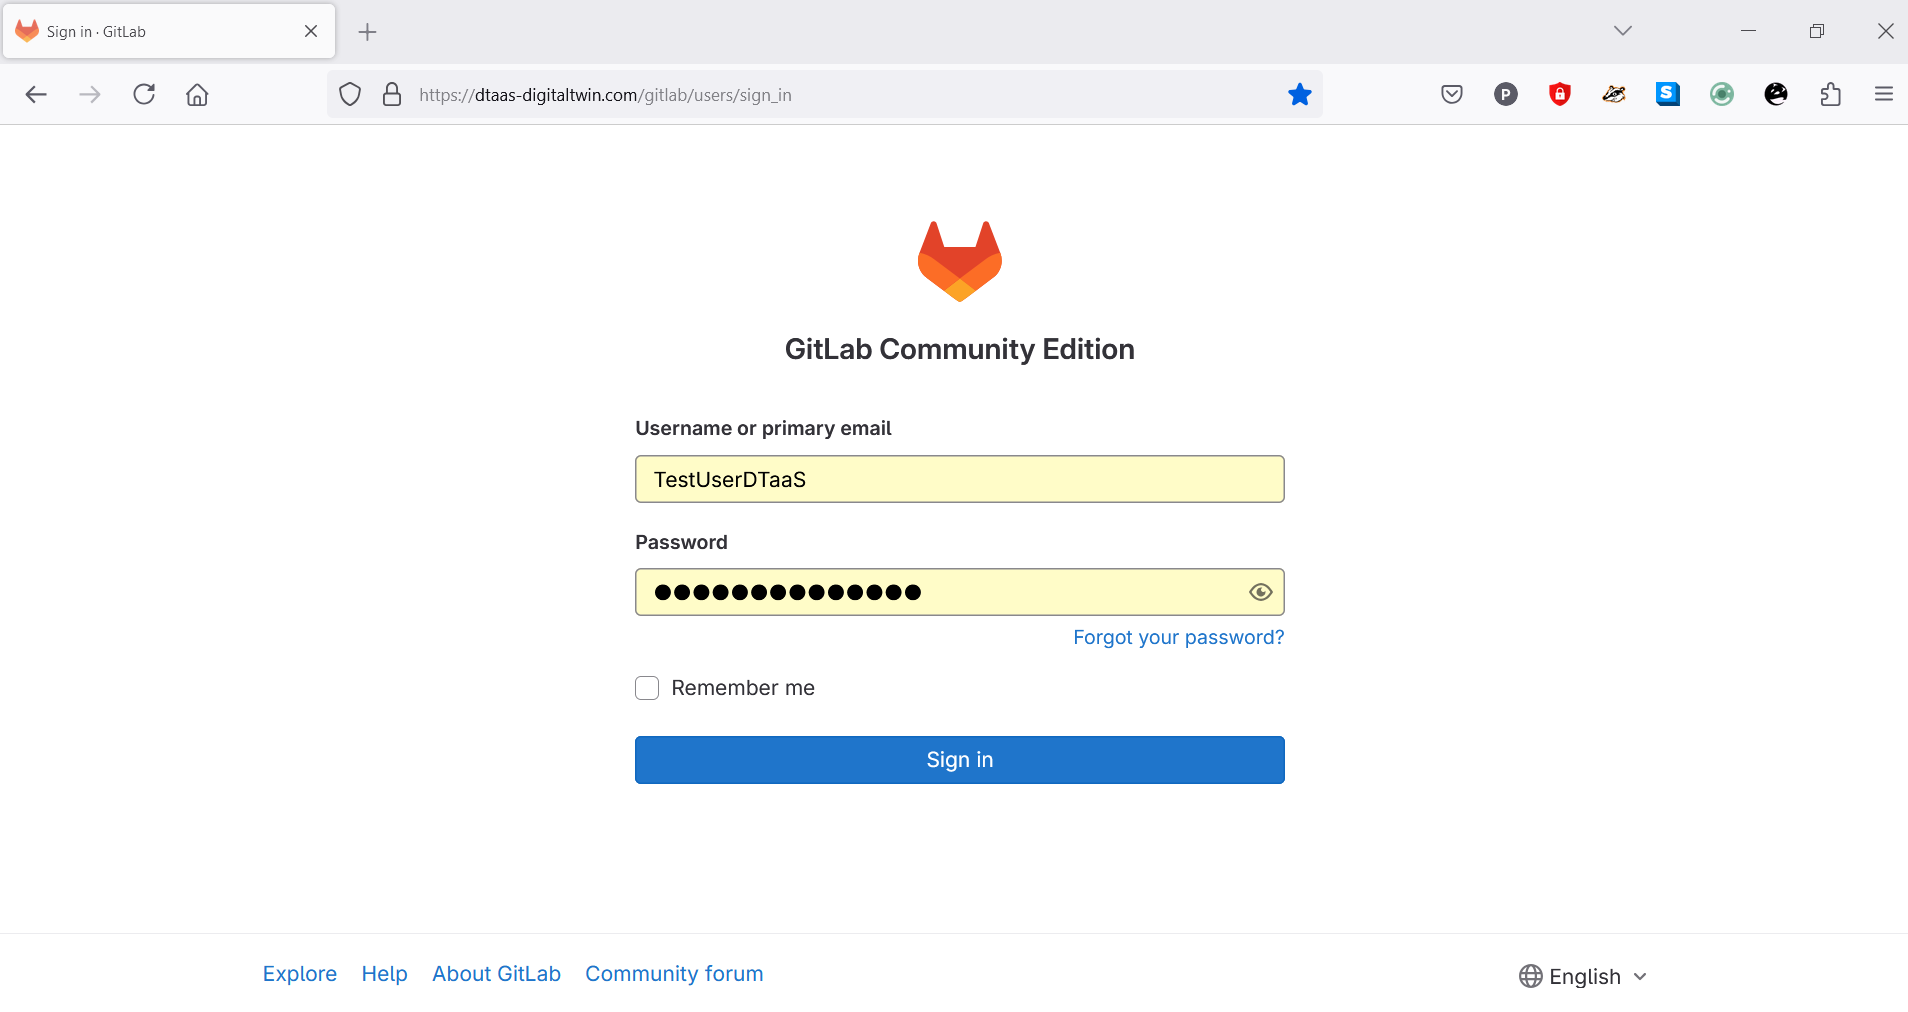
Enter the email or username and password of the GitLab account whose email ID is registered with the DTaaS.
The browser then redirects to the OAuth 2.0 application page.
Permit DTaaS Server to Use GitLab
URL:
https://gitlab.com/xxxx
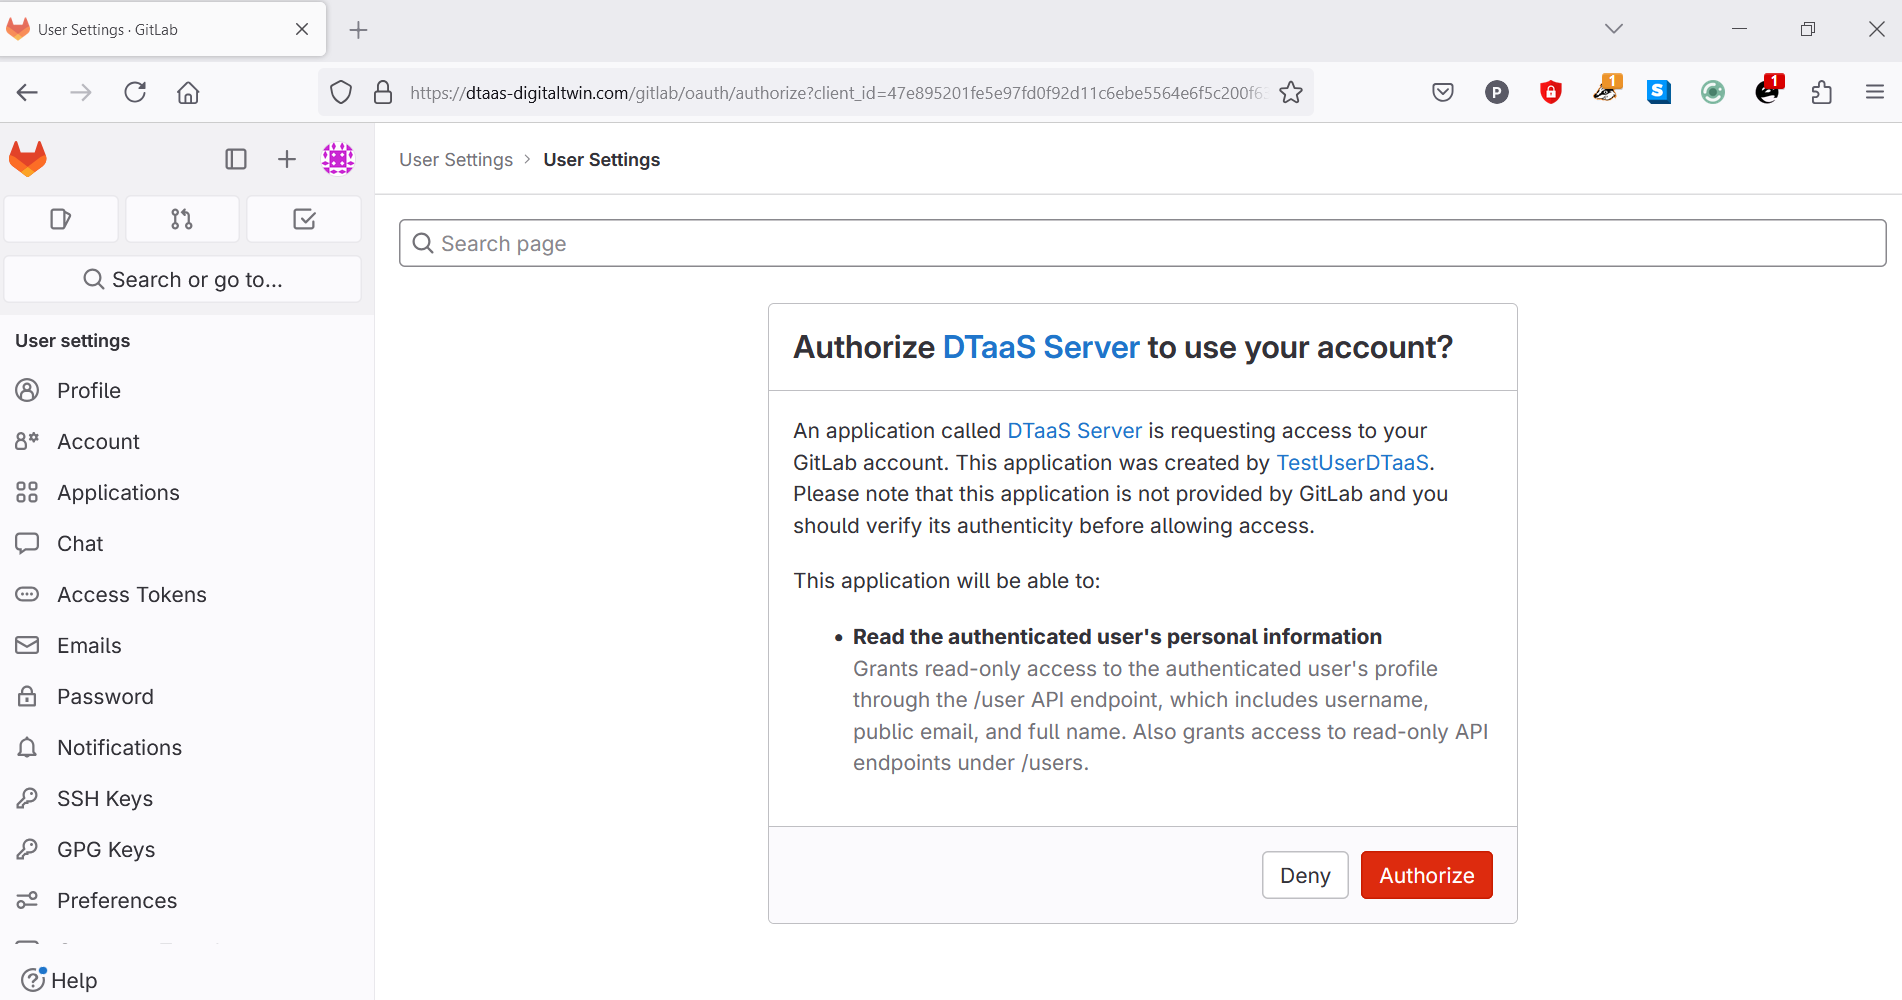
Clicking Authorize lets the OAuth 2.0 application access the information associated with the GitLab account. This step is required.
After successful authentication, the browser returns to the sign-in page of the DTaaS website.
URL:
https://intocps.org
The DTaaS website adds a second layer of security with the OAuth 2.0 third-party authorization protocol. Only users with an active account at the selected OAuth 2.0 provider can access the installation. This installation also uses GitLab as the OAuth 2.0 provider.
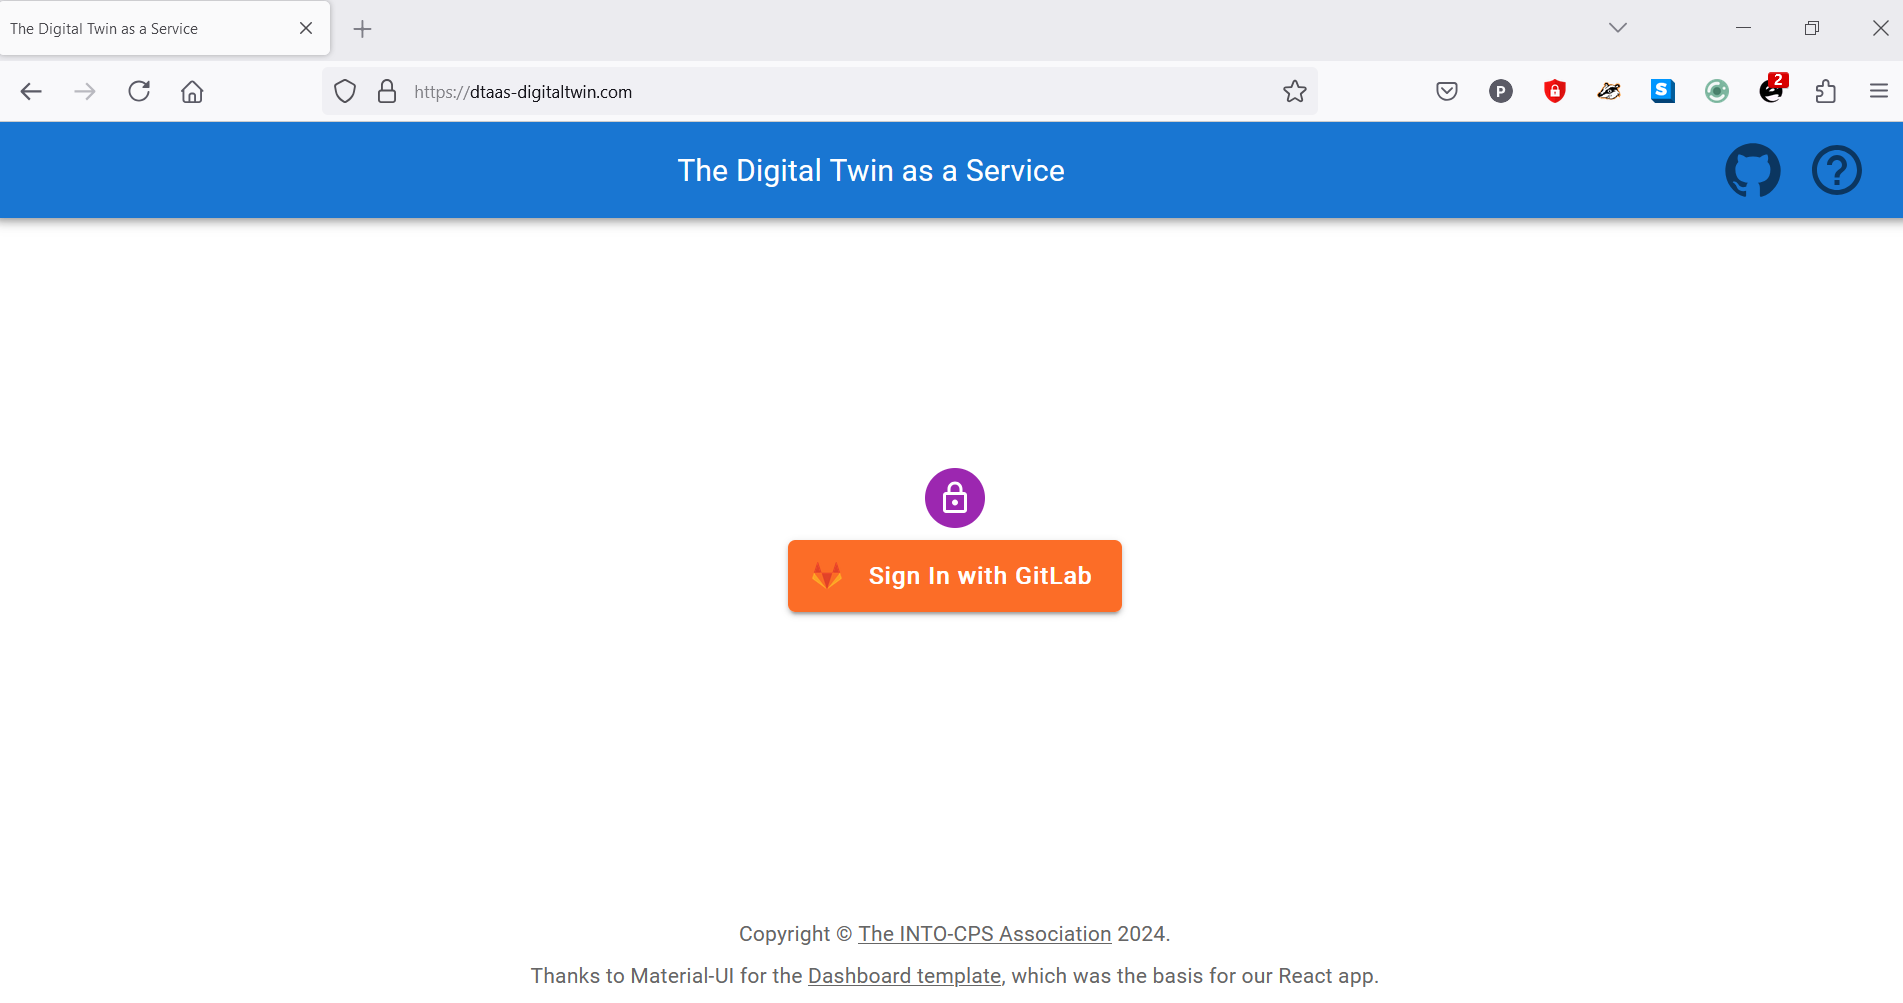
The sign-in page shows a Sign In button. Clicking it redirects to the GitLab instance that authorizes users for the DTaaS. You do not need to sign in to GitLab again unless you have explicitly logged out of your GitLab account.
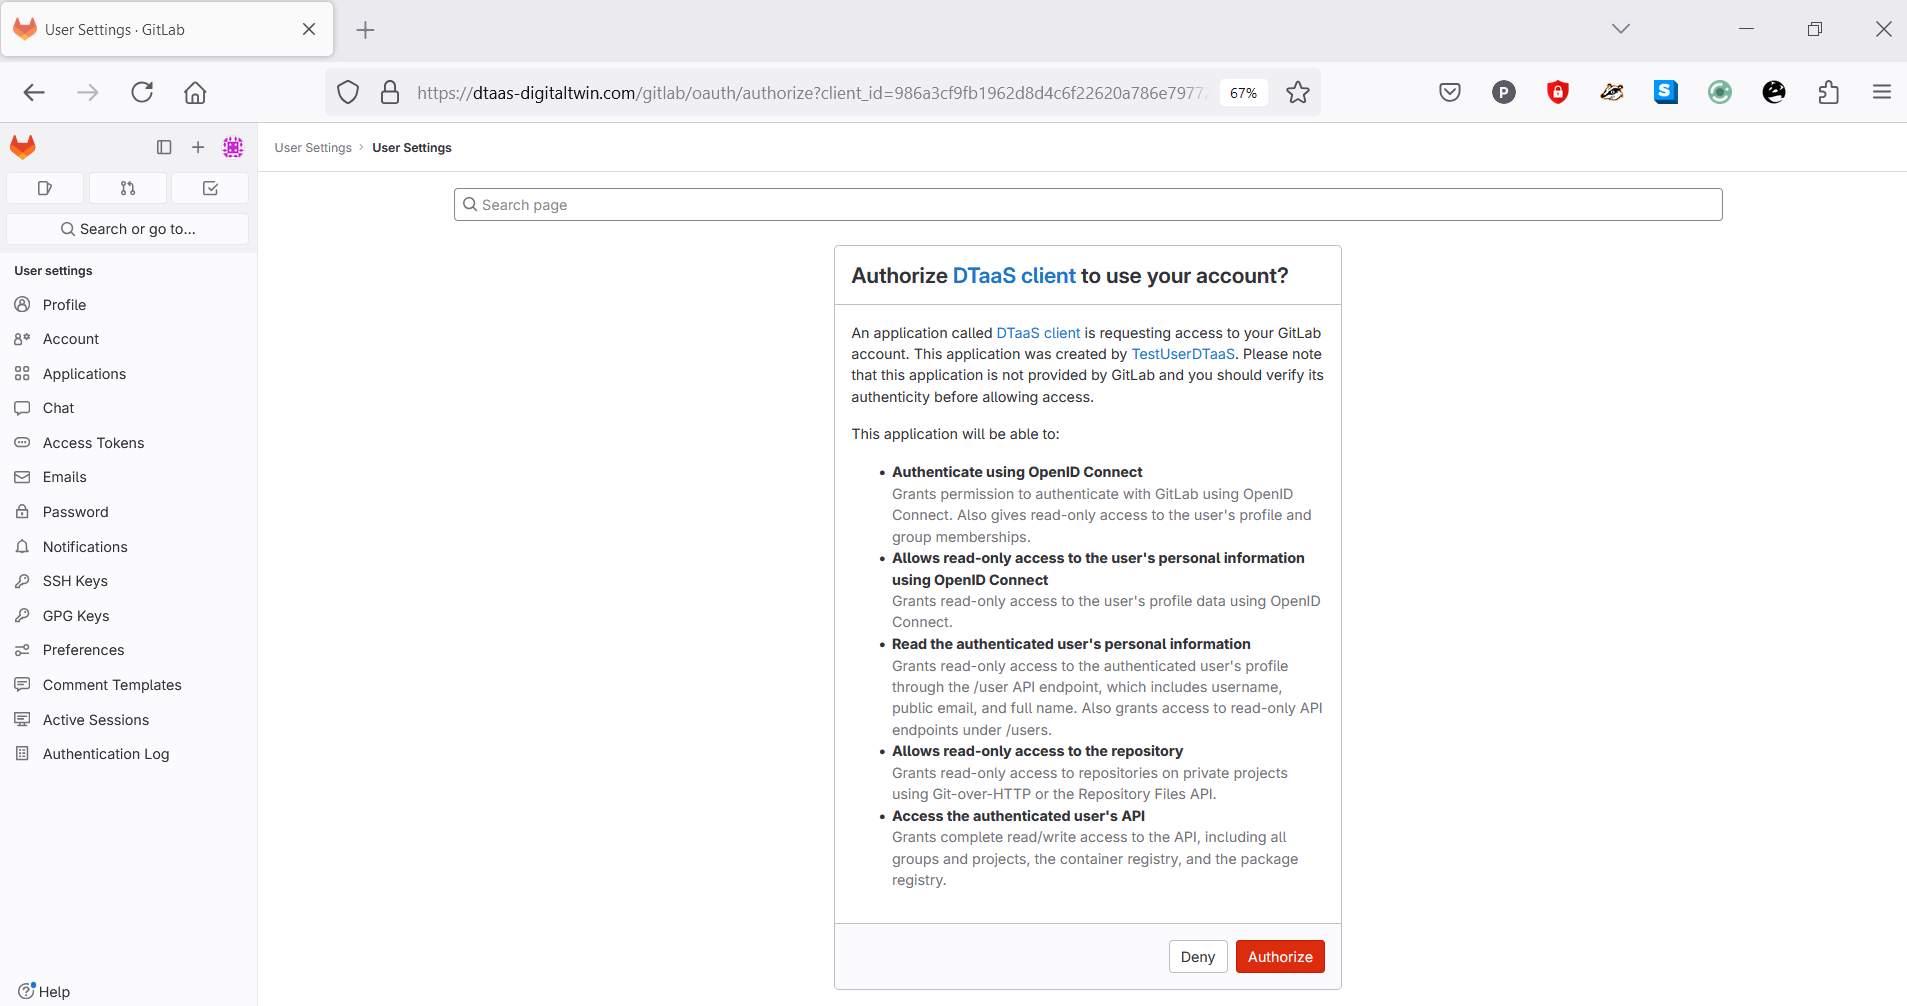
Permit DTaaS Website to Use GitLab
URL:
https://gitlab.com/xxxx
The DTaaS website needs permission to use the GitLab account for authorization. Click the Authorize button.
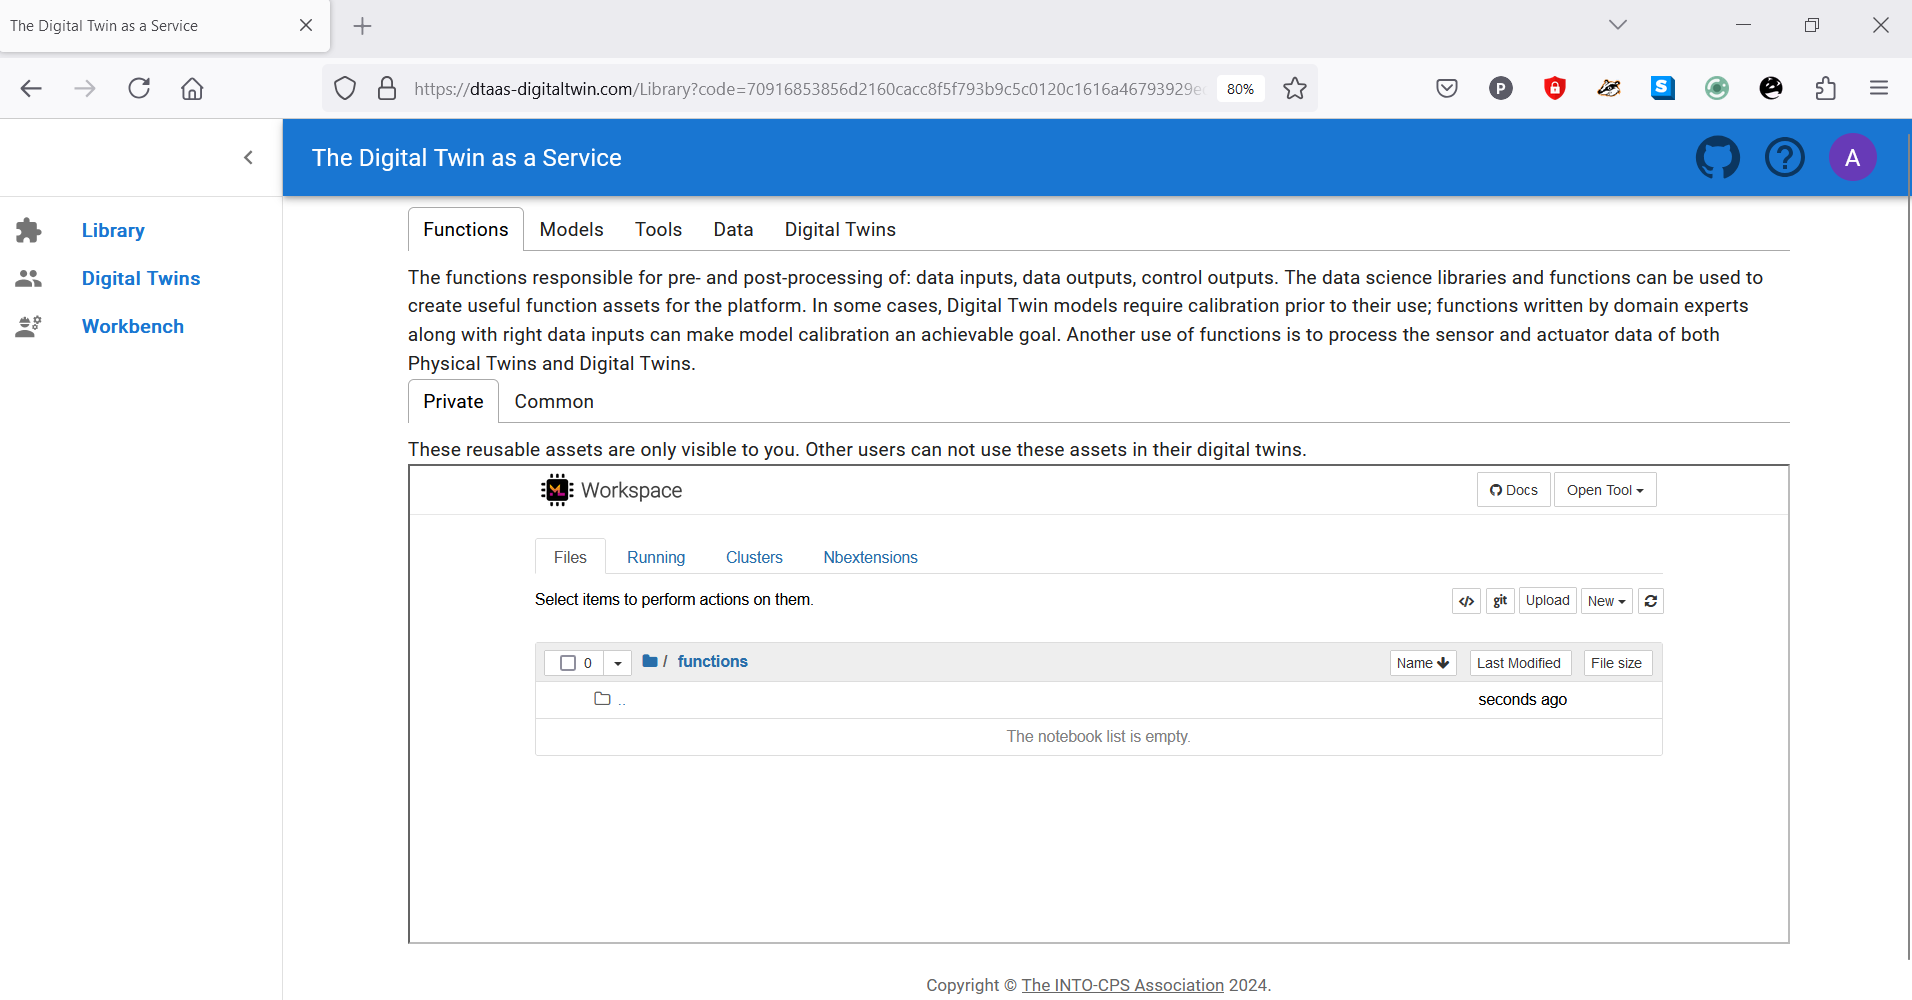
After successful authorization, the browser opens the Library page of the DTaaS website.
URL:
https://intocps.org/library/xxxx
The application bar at the top of every page shows the DTaaS logo and title in the middle. On the right are three buttons. The GitHub icon opens the DTaaS code repository and the question-mark icon opens this documentation. The round avatar, which shows your profile picture or the first letter of your username, opens a menu with Account and Logout. The Account page has a Profile tab and a Settings tab where you can change settings.
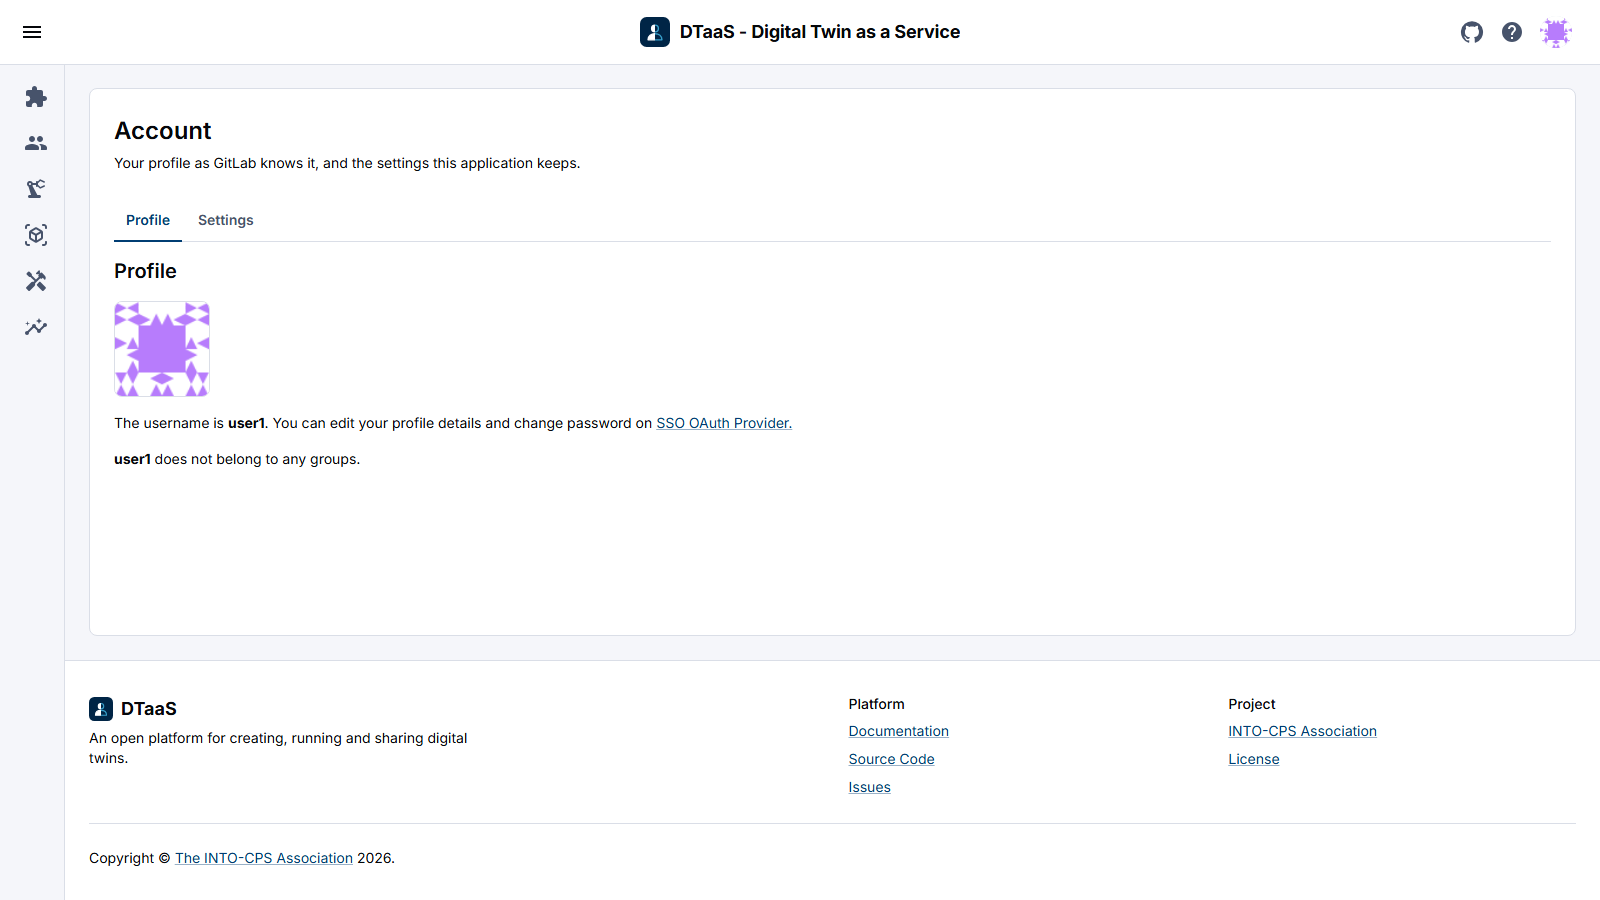
The footer at the bottom of every page links to the documentation, the source code, the issue tracker, the INTO-CPS Association and the license.
Check Website Access
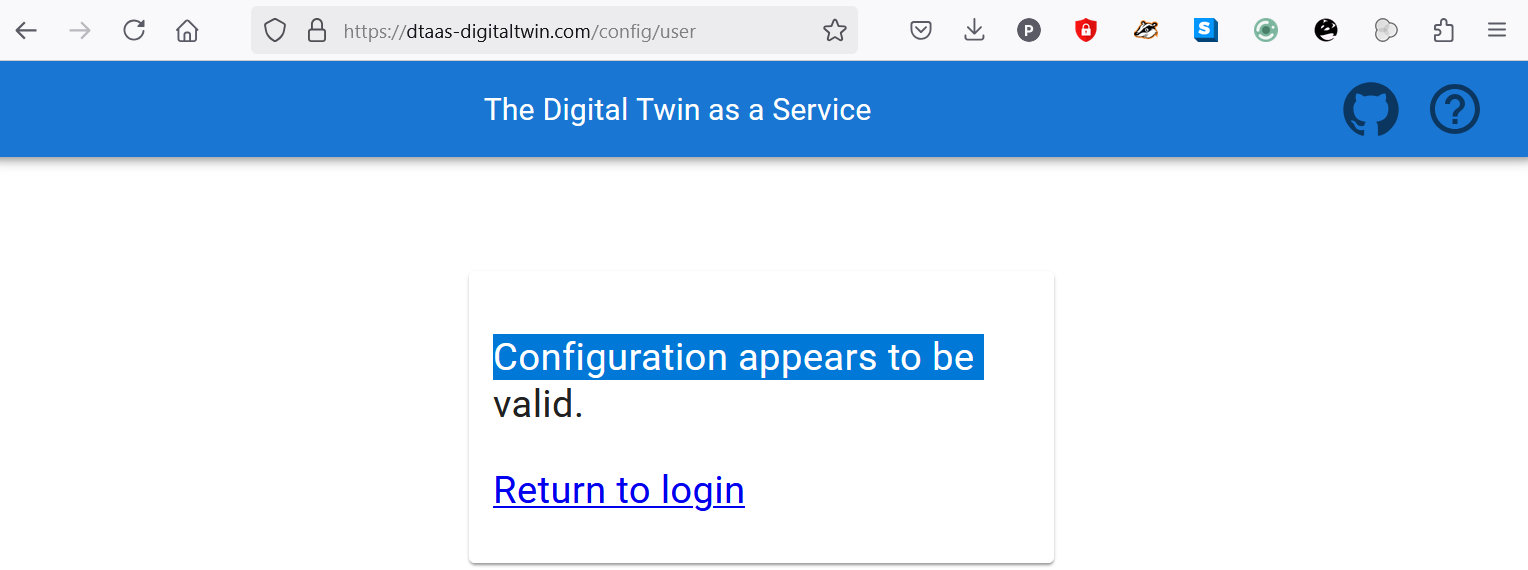
To troubleshoot sign-in problems, open https://intocps.org/config/user to check the website configuration. The page below means the application is configured correctly. A signed-in user can run the same check from Insights > Config, which shows it inside the application. Its link to the full list of configuration values also stays inside the application.
Menu Items
The menu is a sidebar on the left of the page. By default it is collapsed to a narrow rail that shows only the icons, and hovering over an icon shows its name. Click the three horizontal bars icon in the top-left corner to expand the sidebar with the names of the pages. The arrow at the top of the expanded sidebar collapses it again.
The menu has six items:
Library: Manage reusable library assets. You can upload, download, create and modify files on this page.
Digital Twins: Manage digital twins. The page embeds Jupyter Lab, from which digital twins can be executed.
Automation: Links to the Library Page, the Digital Twins Page and the Measurement page. These pages show the integration of the DTaaS with GitLab CI/CD and are experimental.
Buildings: Opens the Building Models page, which draws the IFC building models in your library and colours them by the readings their sensors report.
Workbench: Not every digital twin can be managed in Jupyter Lab. This page links to the other tools in your workspace.
Insights: Information the platform can give you about itself: the Logs of this website and the configuration check described above.
Library Page
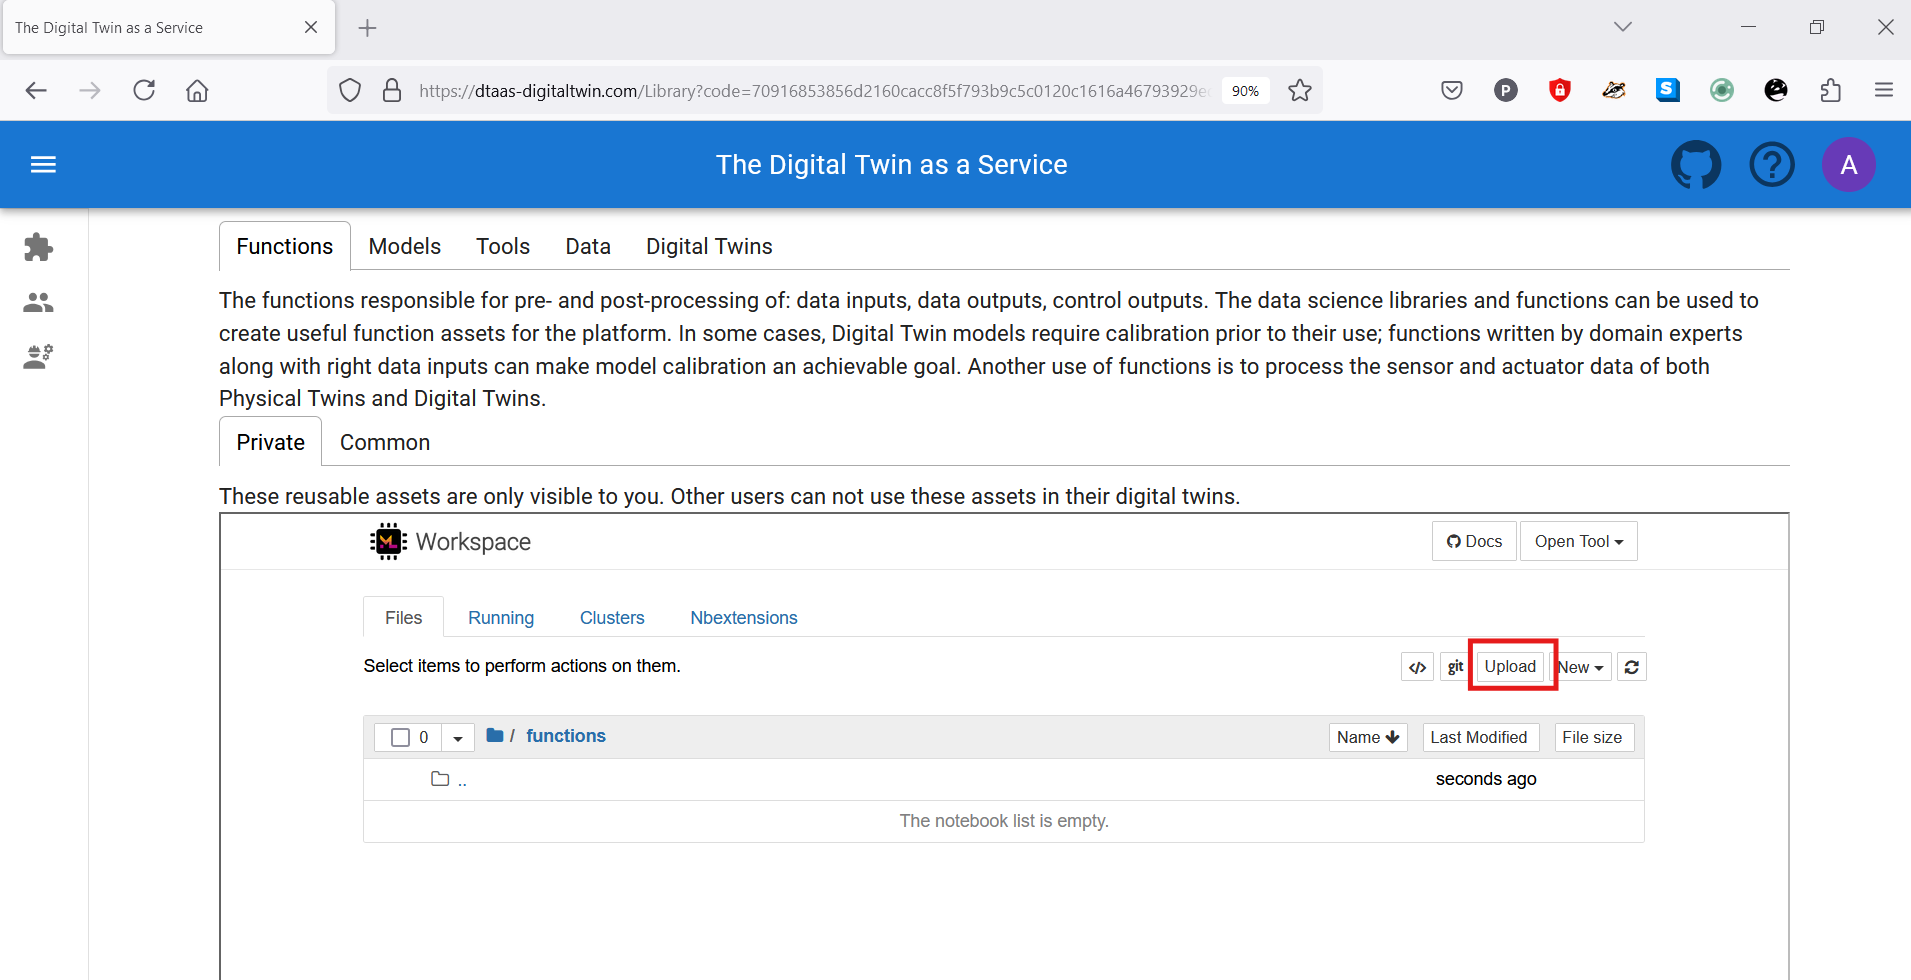
The page has five tabs, one for each type of digital twin asset. Each tab has a description of its asset type.
Functions
The functions responsible for pre- and post-processing of data inputs, data outputs and control outputs. The data science libraries and functions can be used to create useful function assets for the platform. In some cases, Digital Twin models require calibration prior to their use; functions written by domain experts along with the right data inputs can make model calibration achievable. Functions can also process the sensor and actuator data of both Physical Twins and Digital Twins.
Models
The model assets describe different aspects of Physical Twins and their environment, at different levels of abstraction. Therefore, it is possible to have multiple models for the same Physical Twin. For example, a flexible robot used in a car production plant may have structural models that are useful for tracking the wear and tear of parts. The same robot can have behavioural models describing the safety guarantees provided by the robot manufacturer. The same robot can also have functional models describing the part manufacturing capabilities of the robot.
Tools
The software tool assets are software used to create, evaluate and analyse models. These tools run on top of a computing platform, i.e., an operating system, a virtual machine such as the Java virtual machine, or inside docker containers. Tools tend to be platform specific, which makes them less reusable than models. A tool can be packaged to run on a local or distributed virtual machine environment, so the most suitable execution environment can be selected for a Digital Twin. Most models require tools to evaluate them in the context of data inputs. In some cases executable packages are run as binaries in a computing environment. Each of these packages is a pre-packaged combination of models and tools that makes a ready-to-use Digital Twin.
Data
The data sources and sinks available to digital twins. Typical examples of data sources are sensor measurements from Physical Twins and test data provided by manufacturers for calibration of models. Typical examples of data sinks are visualisation software, external users and data storage services. There are also special outputs, such as events and commands, which are akin to control outputs from a Digital Twin. These control outputs usually go to Physical Twins, but they can also go to another Digital Twin.
Digital Twins
These are ready-to-use digital twins created by one or more users. These digital twins can be reconfigured later for specific use cases.
Each asset tab has two sub-tabs: Private and Common. Private library assets are visible only to the signed-in user. Common library assets are available to all users.
The assets page explains where to place reusable assets of each type and the directory structure on the server.
Note
Assets (files) can be uploaded using the upload button.
Note
The file manager is based on Jupyter Notebook, and all tasks available in Jupyter Notebook can be performed here.
Digital Twins Page
URL:
https://intocps.org/digitaltwins
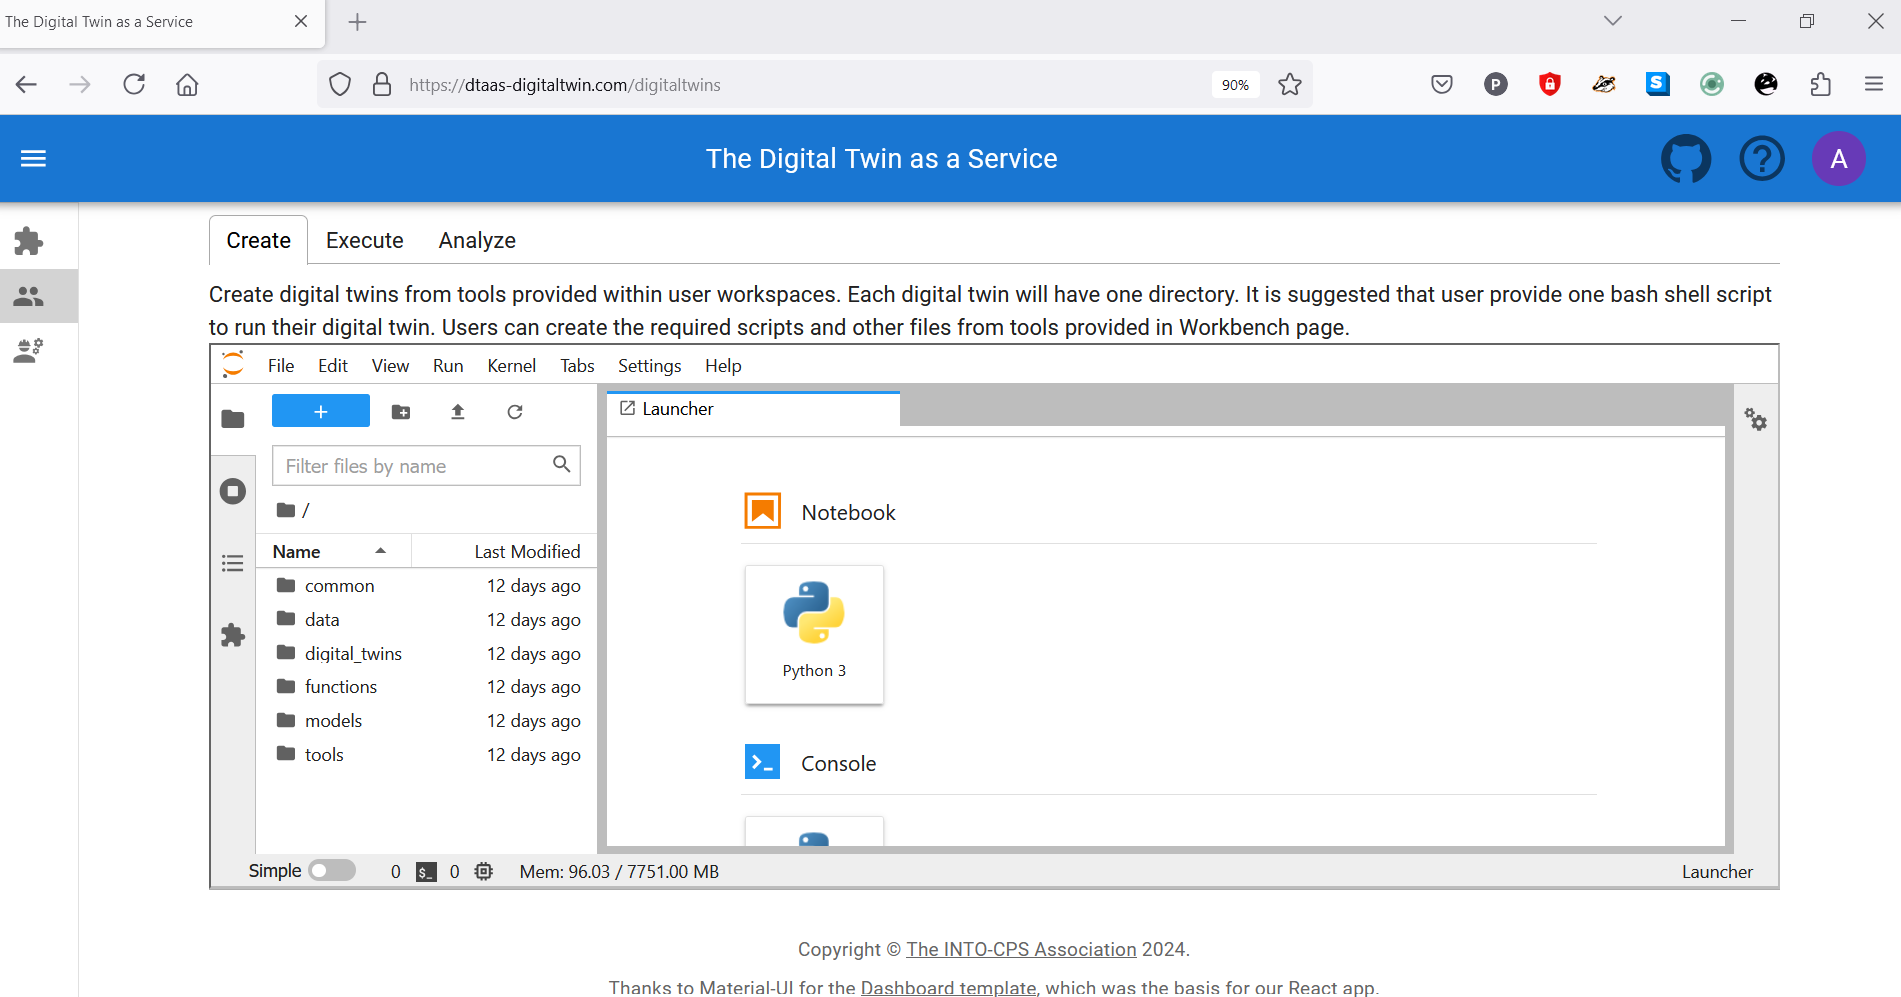
The Digital Twins page has three tabs, Create, Execute and Analyze, and each tab shows Jupyter Lab below its description. The descriptions suggest tasks for these lifecycle phases of a digital twin. The lifecycle phases of digital twin page explains them further.
Create
Create digital twins from tools provided within user workspaces. Each digital twin has one directory. Users are advised to provide one bash shell script to run their digital twin. Users can create the required scripts and other files with the tools on the Workbench page.
Execute
Digital twins are executed from within user workspaces. The given bash script is executed from the digital twin directory. Terminal-based digital twins can be executed from VSCode and graphical digital twins can be executed from VNC GUI. The results of execution can be placed in the data directory.
Analyze
Analysing a digital twin requires running the digital twin script from the user workspace. Analysis scripts process the execution results placed in the data directory and put their results back in the data directory. These scripts can be executed from VSCode, or from VNC GUI when they produce graphical results.
Note
The reusable assets (files) shown in the file manager are also available in Jupyter Lab. Jupyter Lab also has a git plugin for linking files with external git repositories.
Workbench
URL:
https://intocps.org/workbench
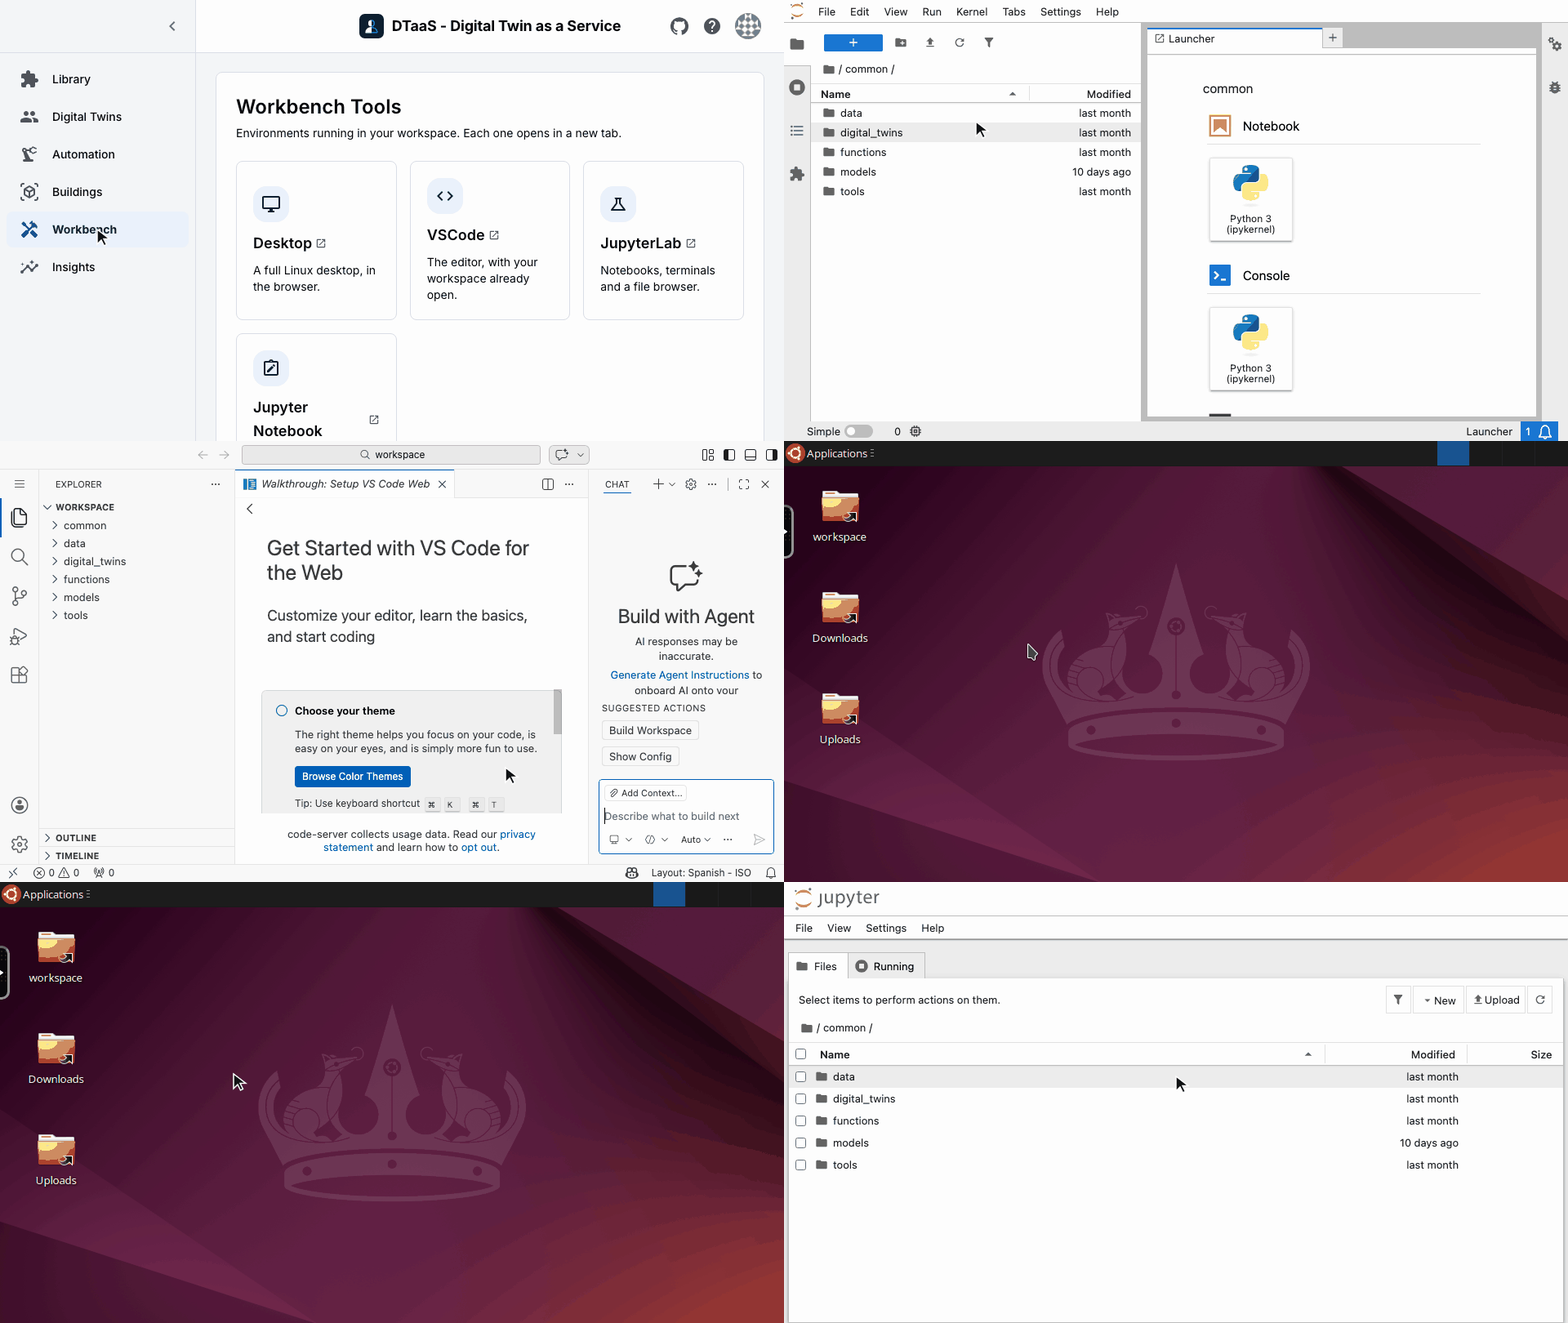
The Workbench Tools page shows a card for each tool running in your workspace. A card has the tool's name, a one-line description and the address it opens. A standard workspace has four tools:
- Desktop
- VSCode
- JupyterLab
- Jupyter Notebook
The page lists only the tools your workspace reports. If it reports none, the page says so instead of showing cards.
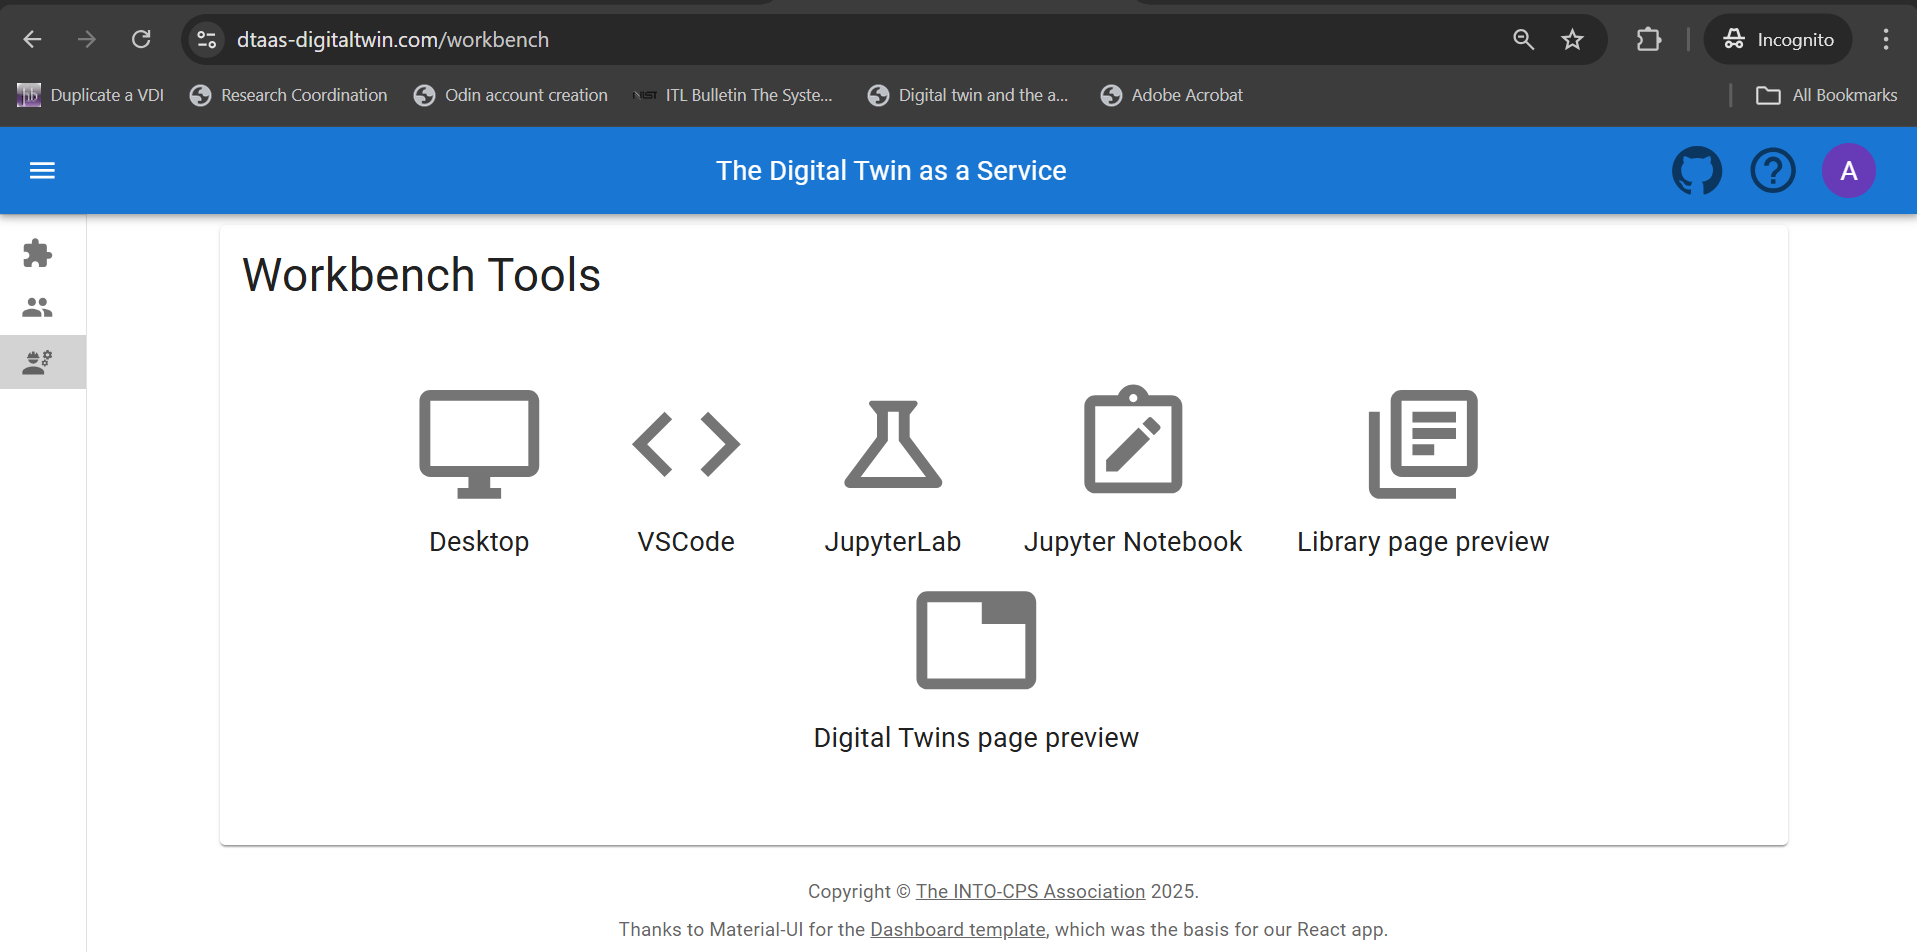
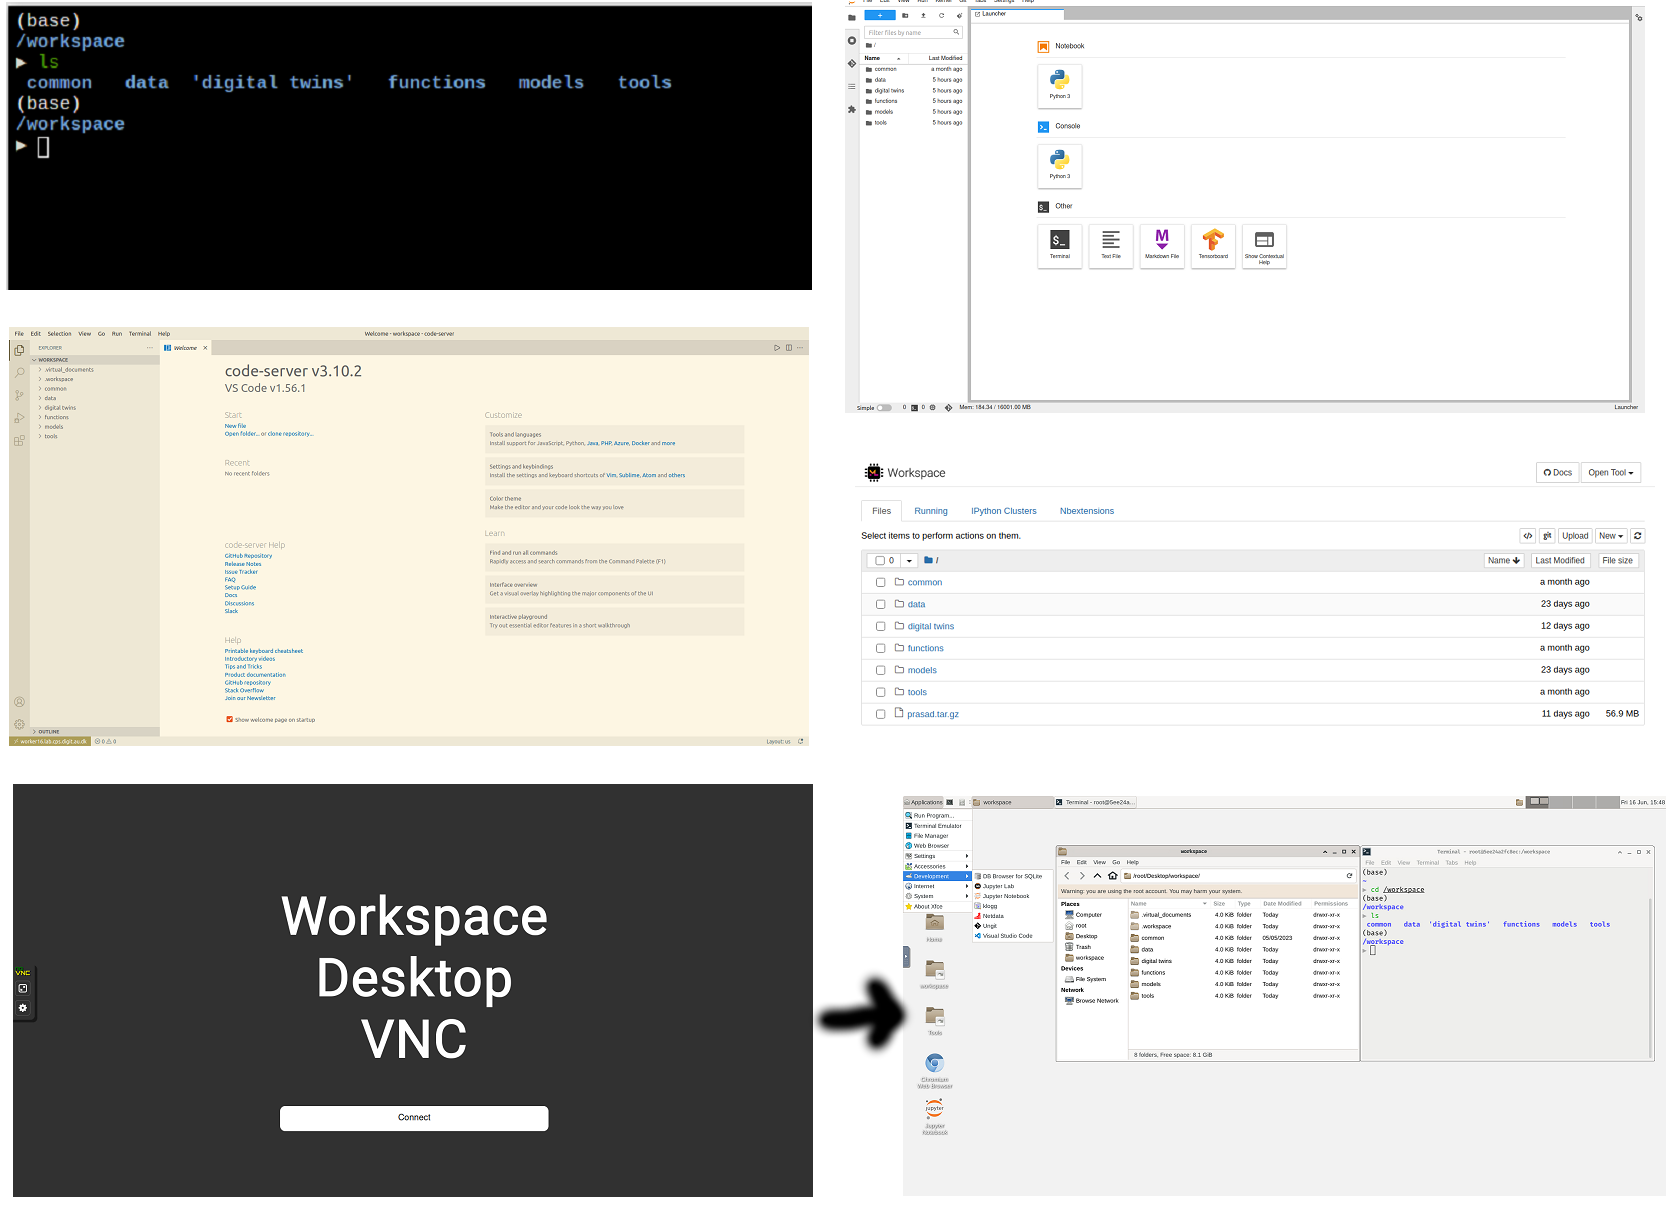
Each card opens its tool in a new browser tab. The Workspace page shows what each tool looks like.
Automation
URL:
https://intocps.org/automation
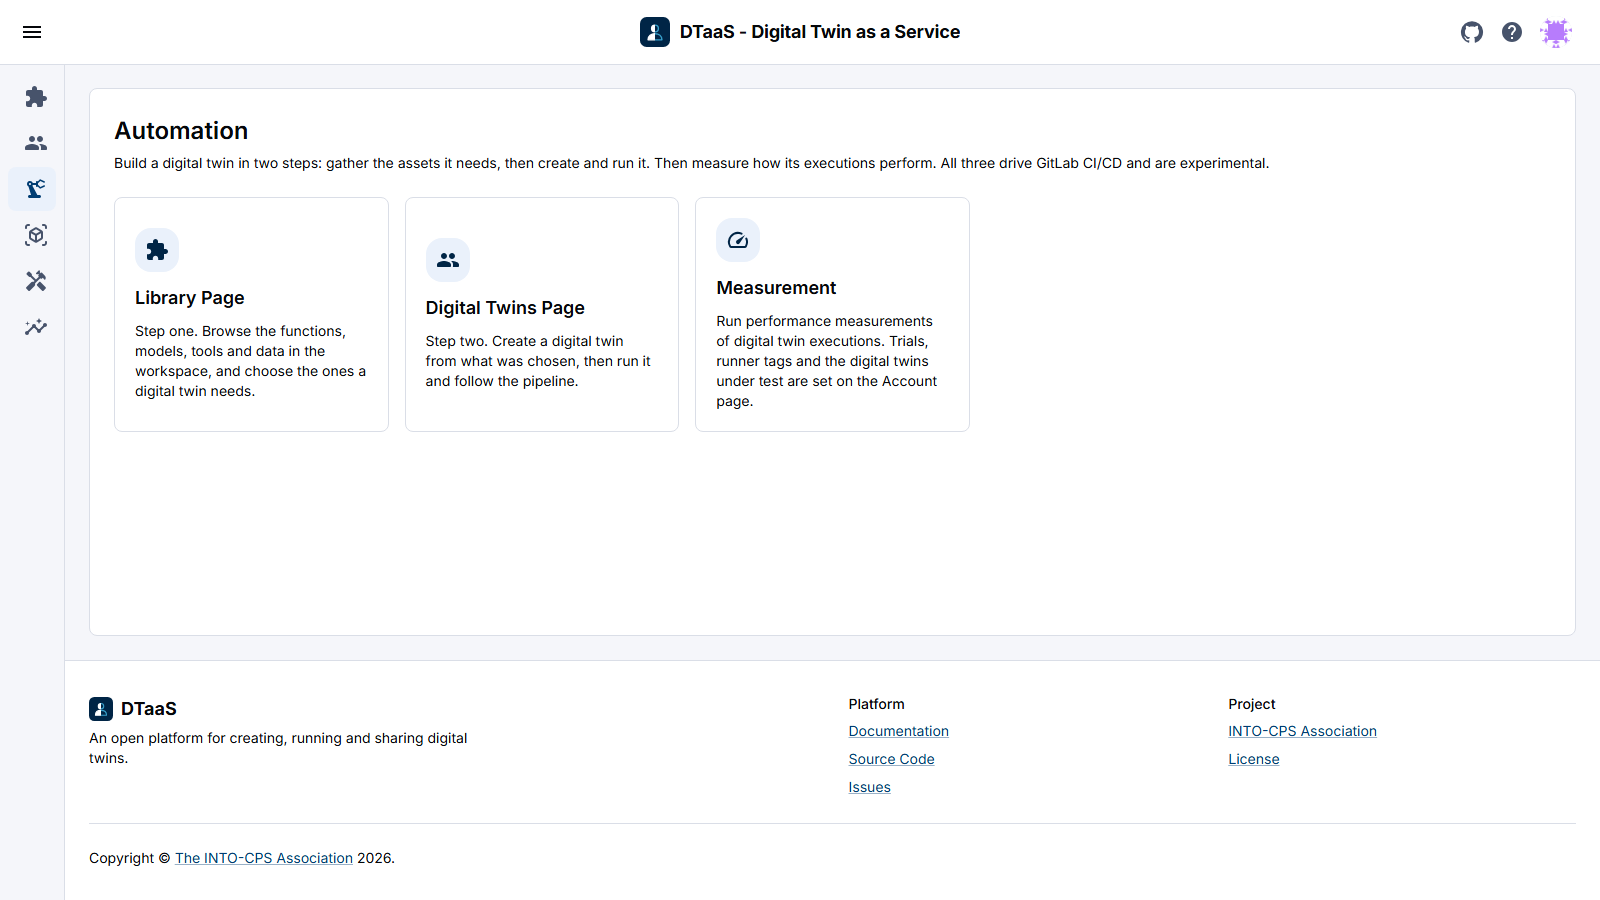
The Automation page has three cards for the DevOps-based implementation of composable digital twins. Each card opens its page in the same browser tab.
- Library Page
- Digital Twins Page
- Measurement
The trials, runner tags and digital twins that the Measurement page uses are set on the Settings tab of the Account page.
Library Preview Page
URL:
https://intocps.org/preview/library
This page, titled Library Page, follows the same idea as the Library page and has a similar interface.
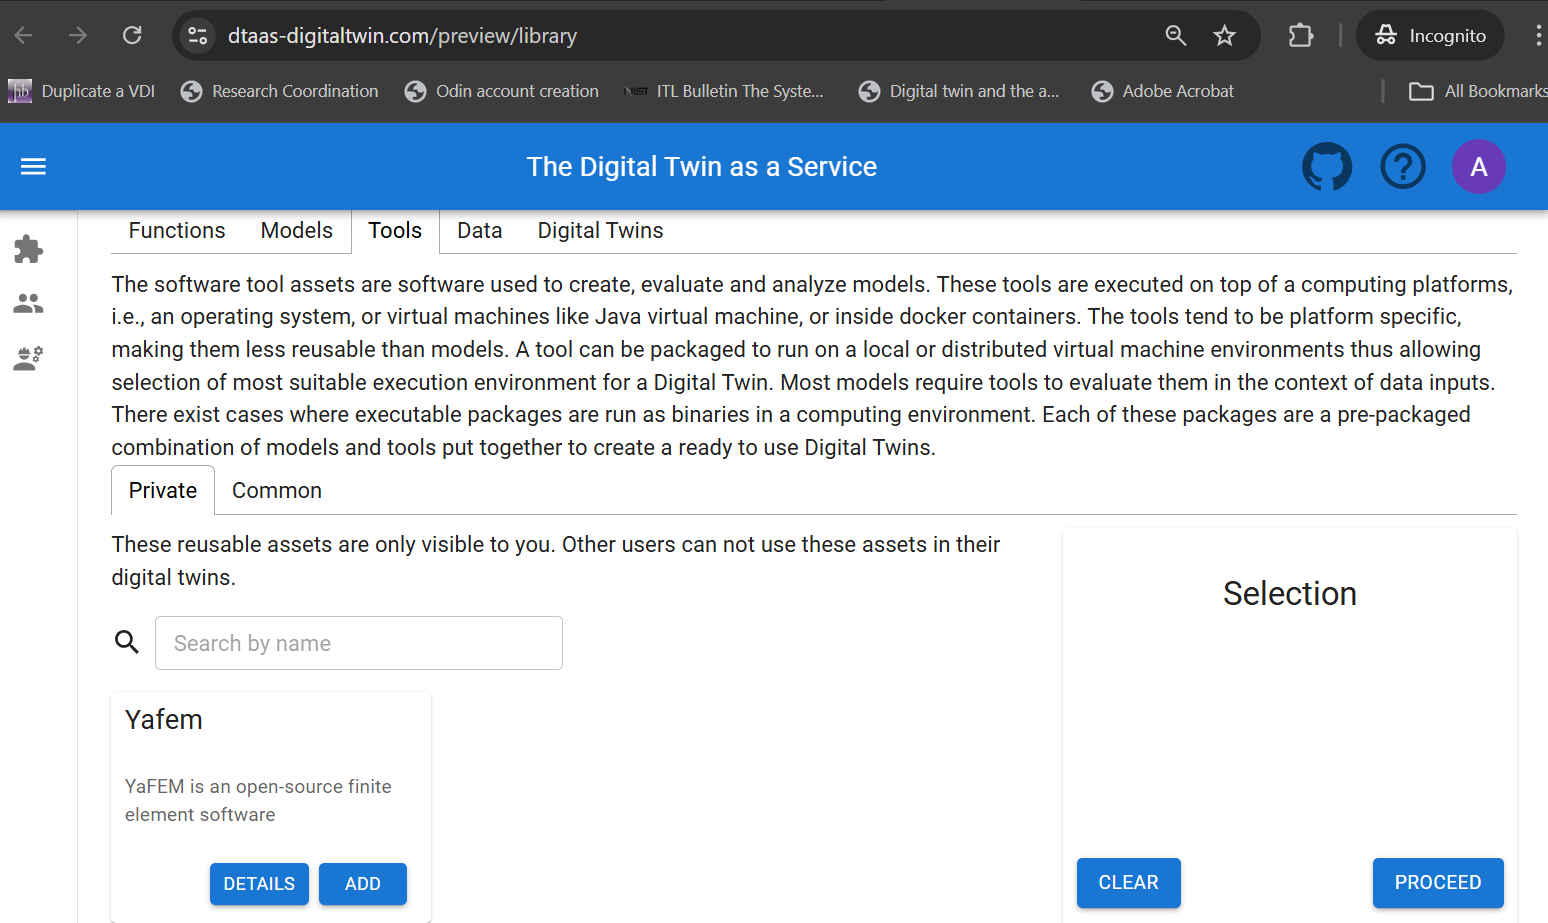
Unlike the Library page, it uses digital twin assets stored in a GitLab repository. You compose a new digital twin by selecting the library assets it needs. The selected assets are listed on the page.
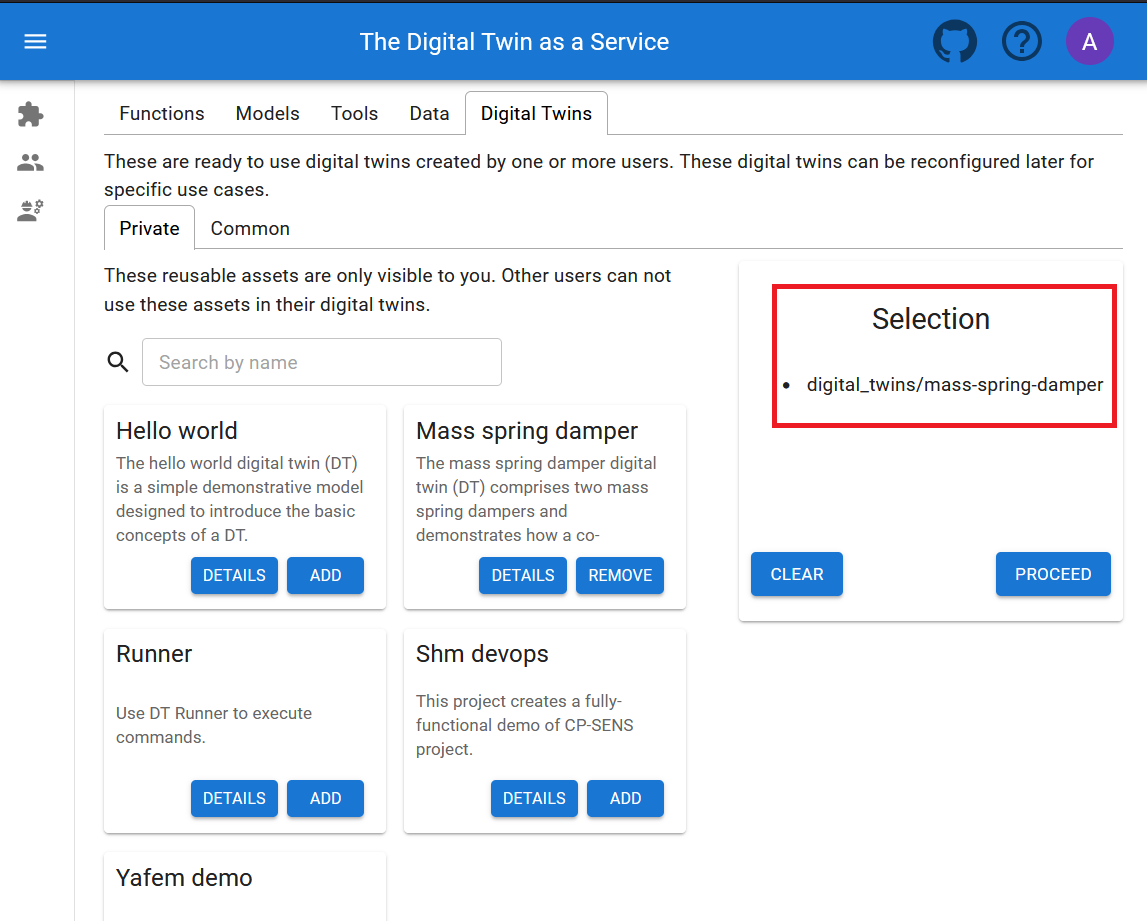
Clicking the Create a Digital Twin button opens the Create tab of the Digital Twins Page. The Clear button empties the selection. Both buttons are disabled until at least one asset is selected.
Digital Twins Preview Page
URL:
https://intocps.org/preview/digitaltwins
This page, titled Digital Twins Page, manages digital twins with the DevOps methodology. It has three tabs: Create, Manage and Execute.
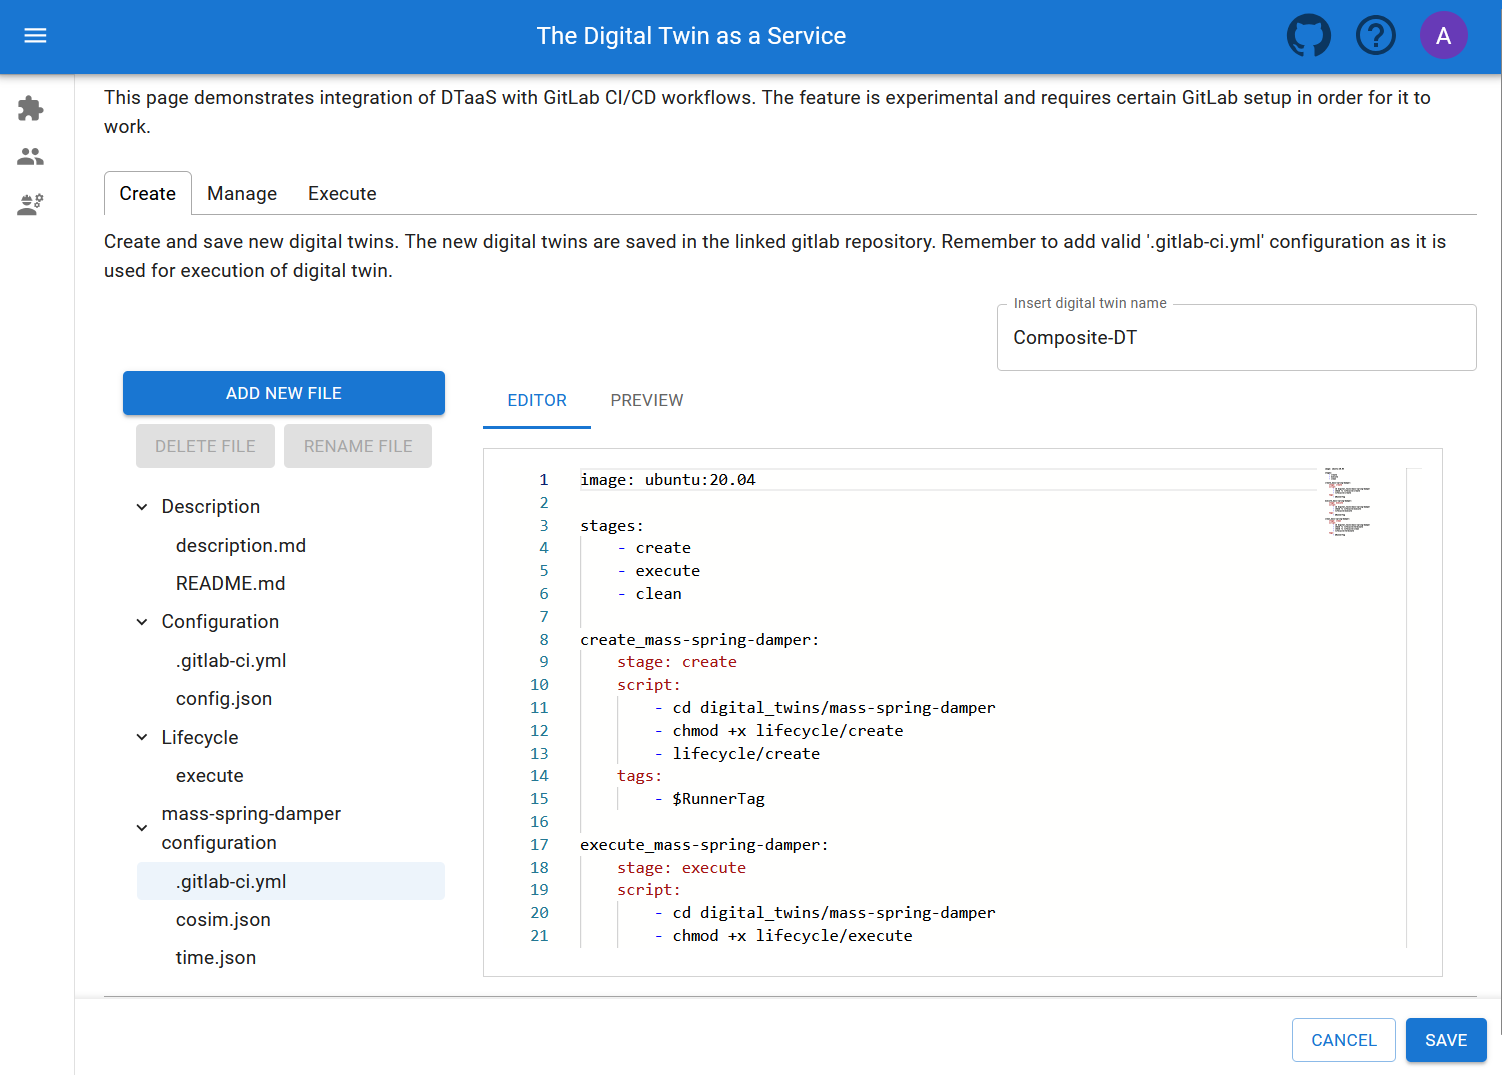
Create Tab
The Create tab uses the selected library assets to create new
digital twins. New digital twins are saved in the linked GitLab
repository. Remember to add a valid .gitlab-ci.yml configuration,
because it is used to execute the digital twin.
Manage Tab
The Details button shows the full description of a digital twin.
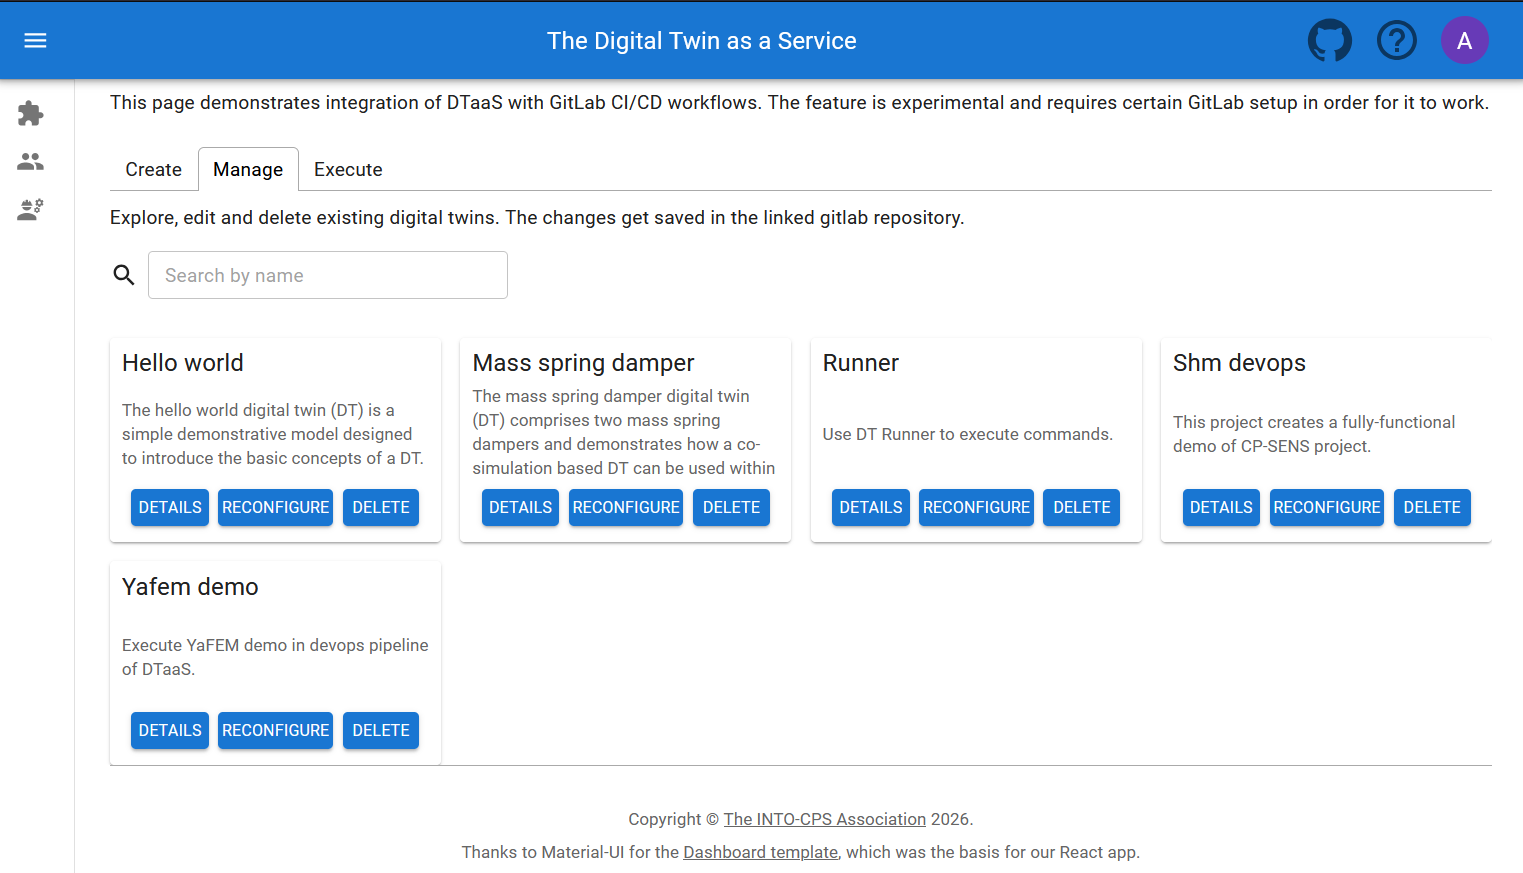
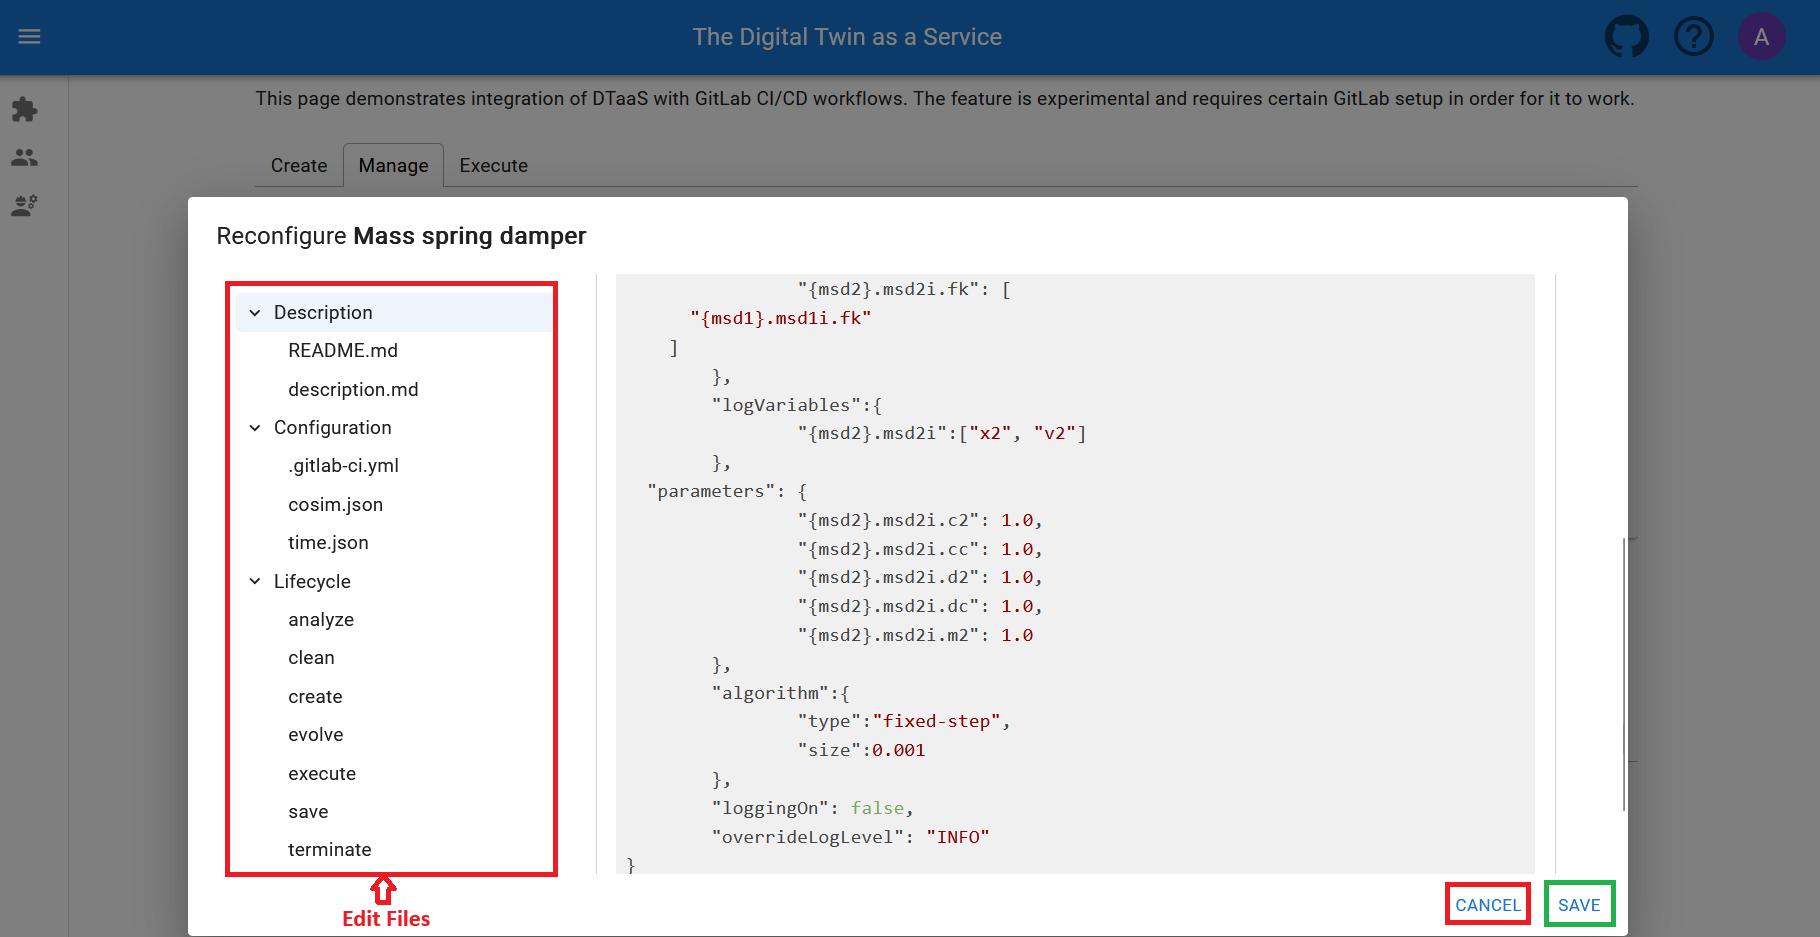
The Delete button removes a digital twin from the workspace along with all its data. The Reconfigure button changes the configuration of a digital twin.
Execute Tab
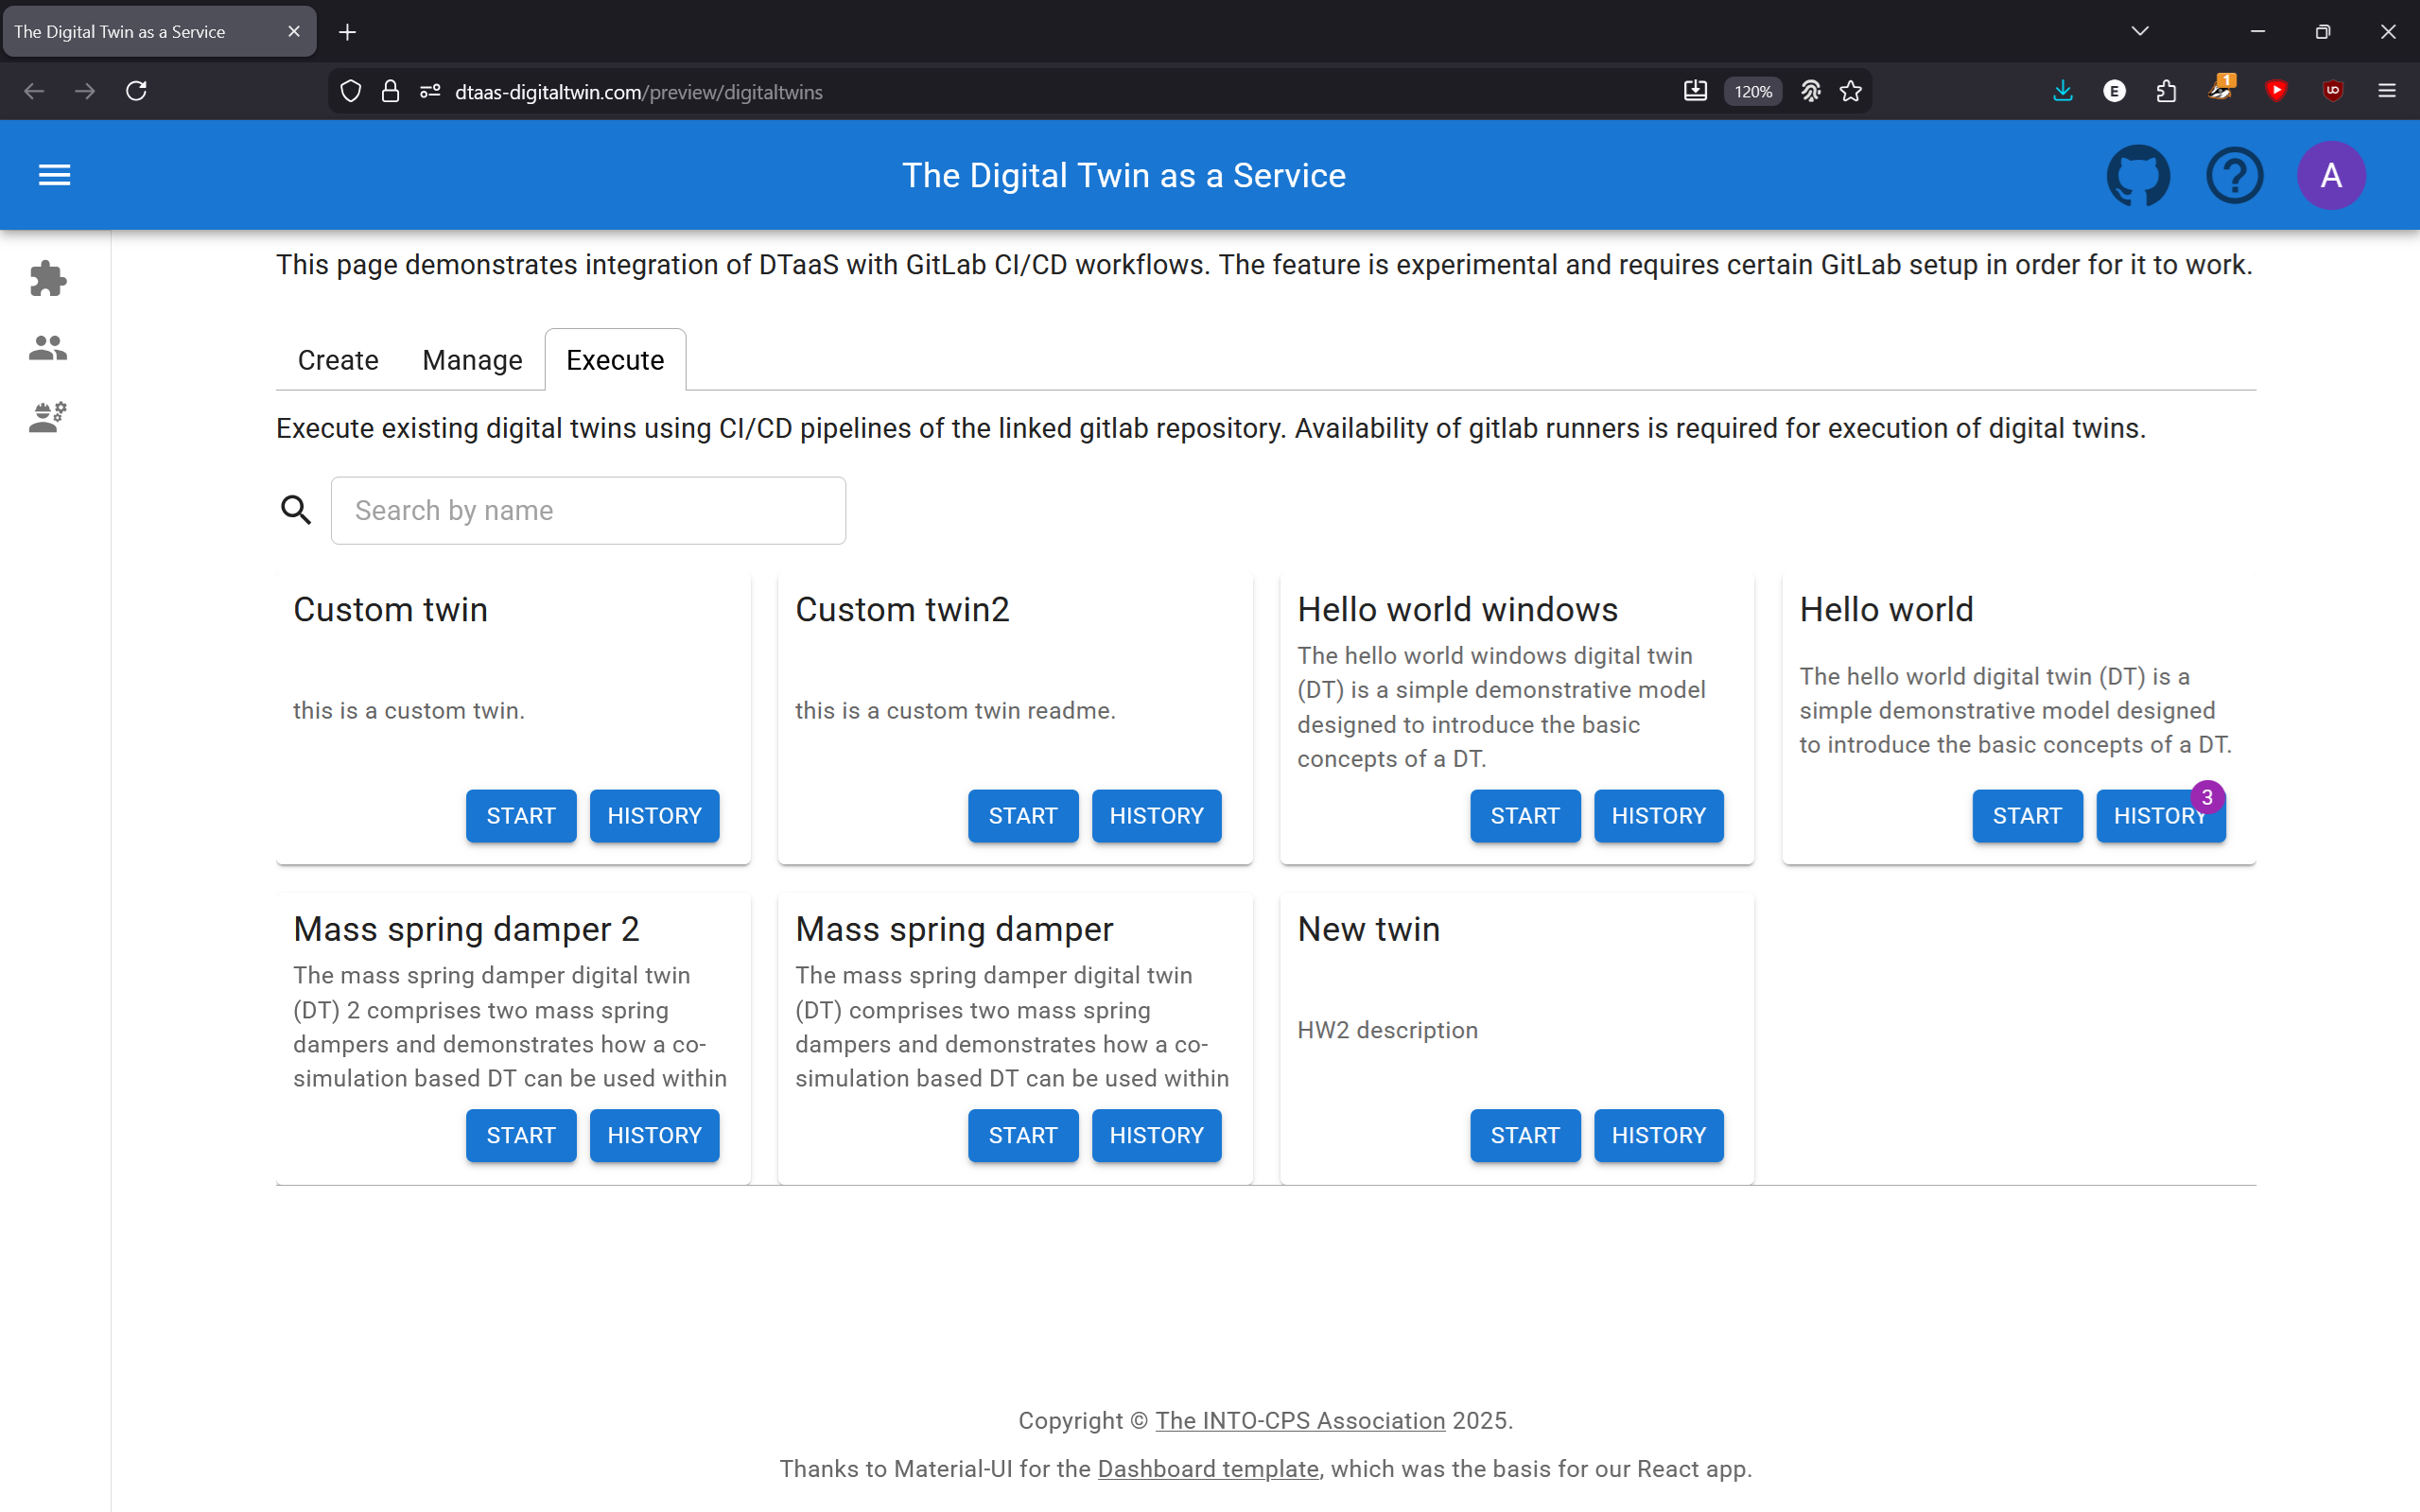
Digital twins are executed with GitLab CI/CD workflows. Several digital twins can run at the same time.
Insights
URL:
https://intocps.org/insights
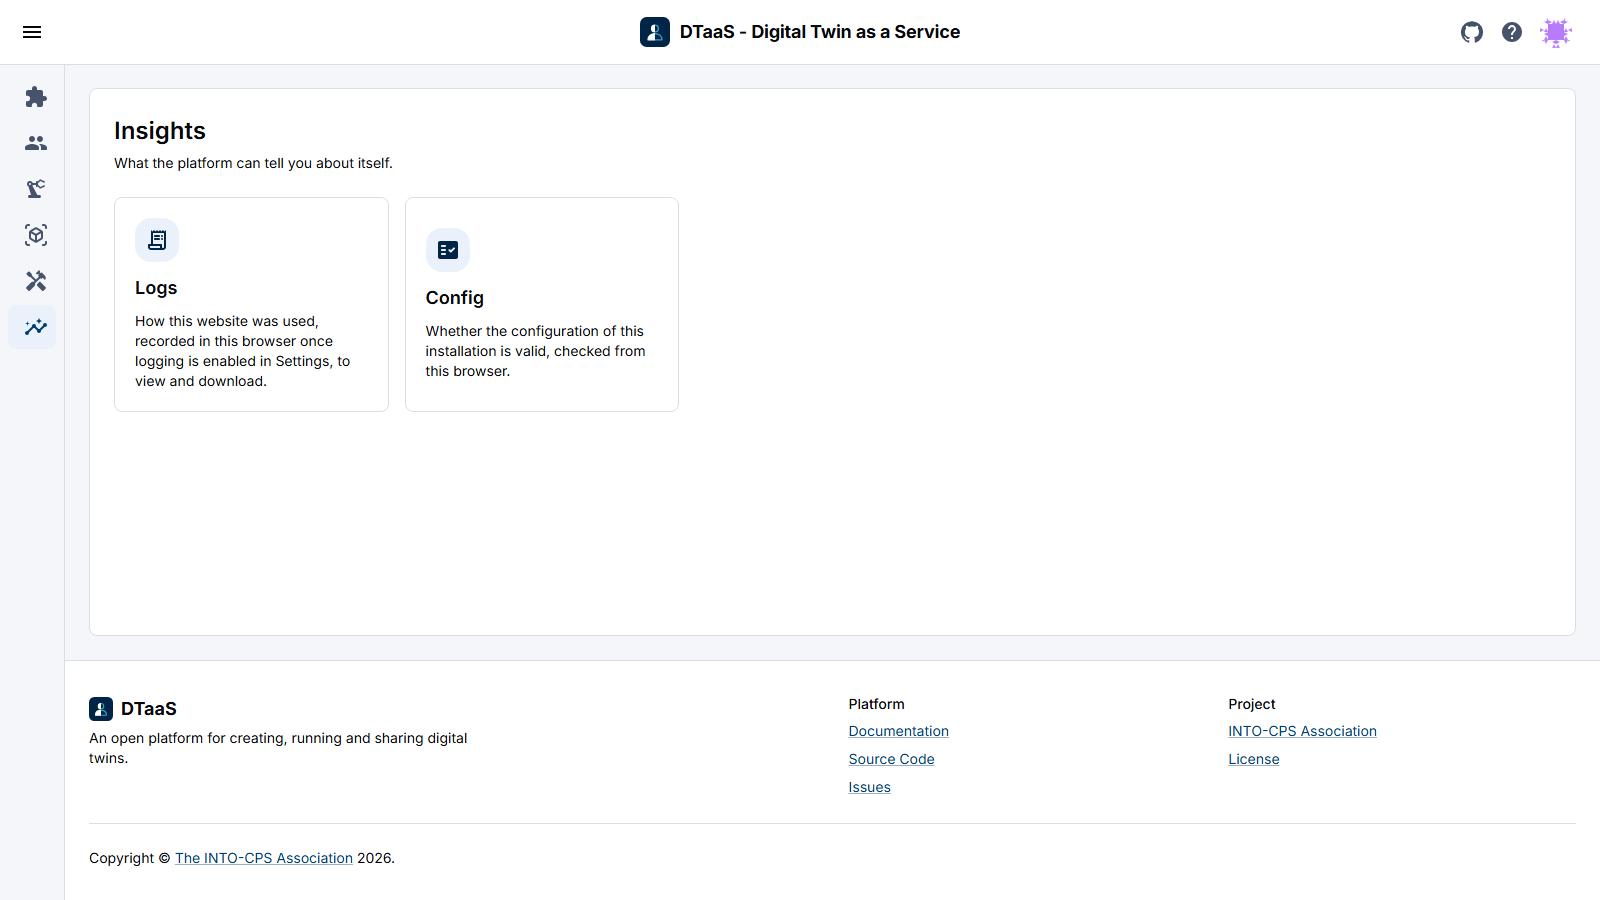
The Insights page has two cards. Logs opens the activity log this browser keeps once logging is enabled, and Config runs the configuration check.
Finally logout
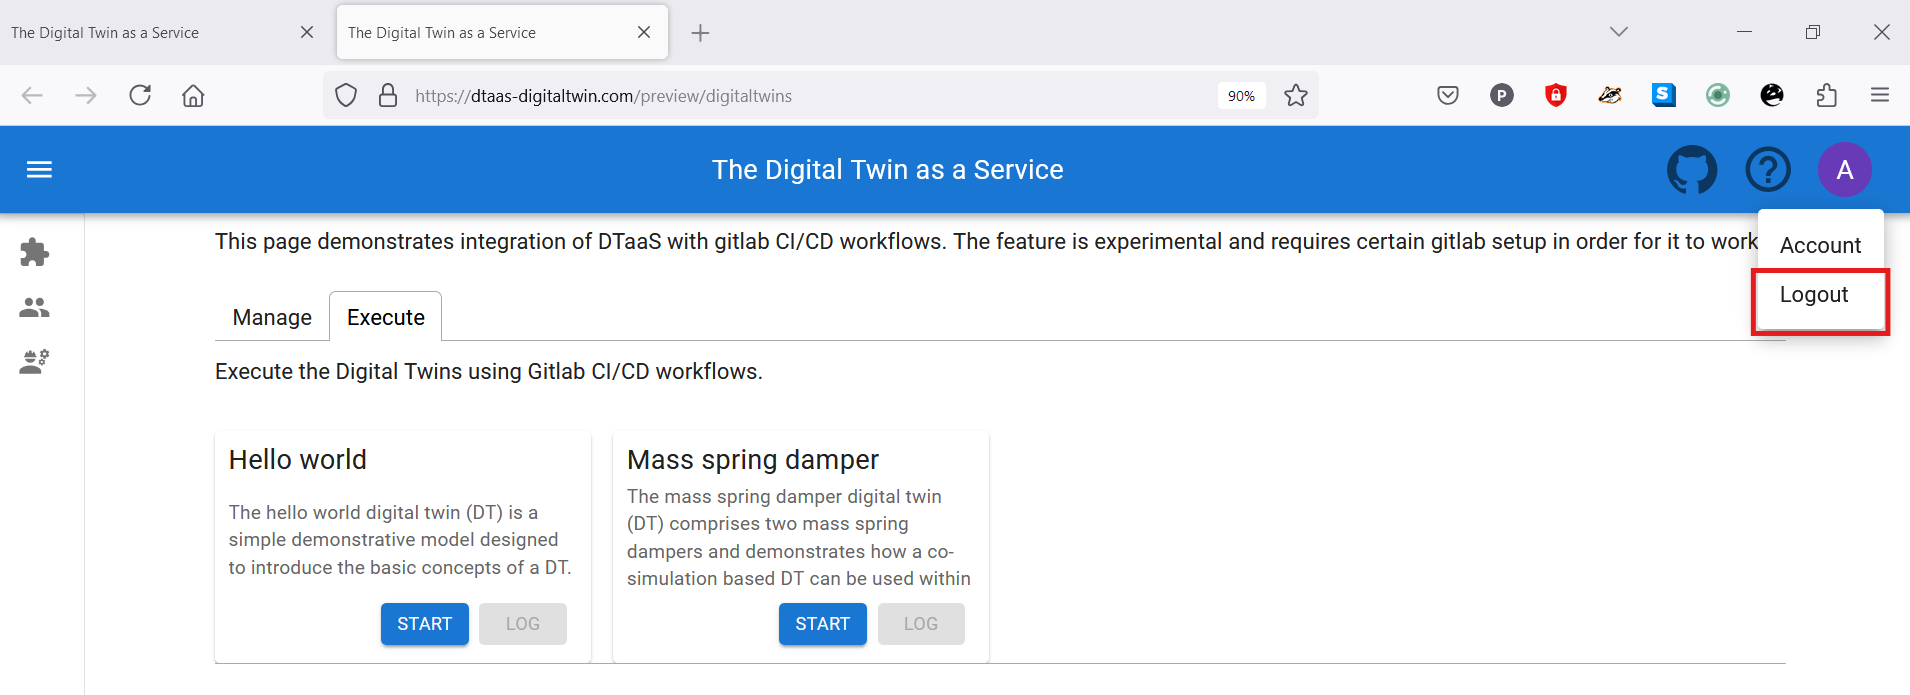
Click the avatar in the top-right corner and choose Logout.
Close the browser to exit the DTaaS software platform completely.